 We had a problem with our upstairs bathroom. It had no shower. Who takes baths any more? One end of the tub was stuck under the sloped ceiling of our Cape Cod, making it impossible to consider adding a shower without getting the ceiling wet (also kinda tough for a tall guy like me to stand up in there). The room was just as wide as the bathtub was long – pretty small. We decided to remove the tub and replace it with a shower stall. I didn’t like the look of the fiberglass shower stalls – they looked dark and would eat up much of our little room. The solution was to install an angle shower.
It was obvious that this job would require some careful planning and measuring. We went to the home center and took measurements of different shower options and tried to get ideas. It became clear that we would have to move a wall in order to fit the new shower in that small space – it would have to clear that darn angled ceiling. I didn’t want to eat up too much of my upstairs den, so we decided to move the wall just 18″. According to the plan, that was the minimum distance that would work. Also, there was an existing 18″ recess in the den wall. The new wall would make a smooth corner there.
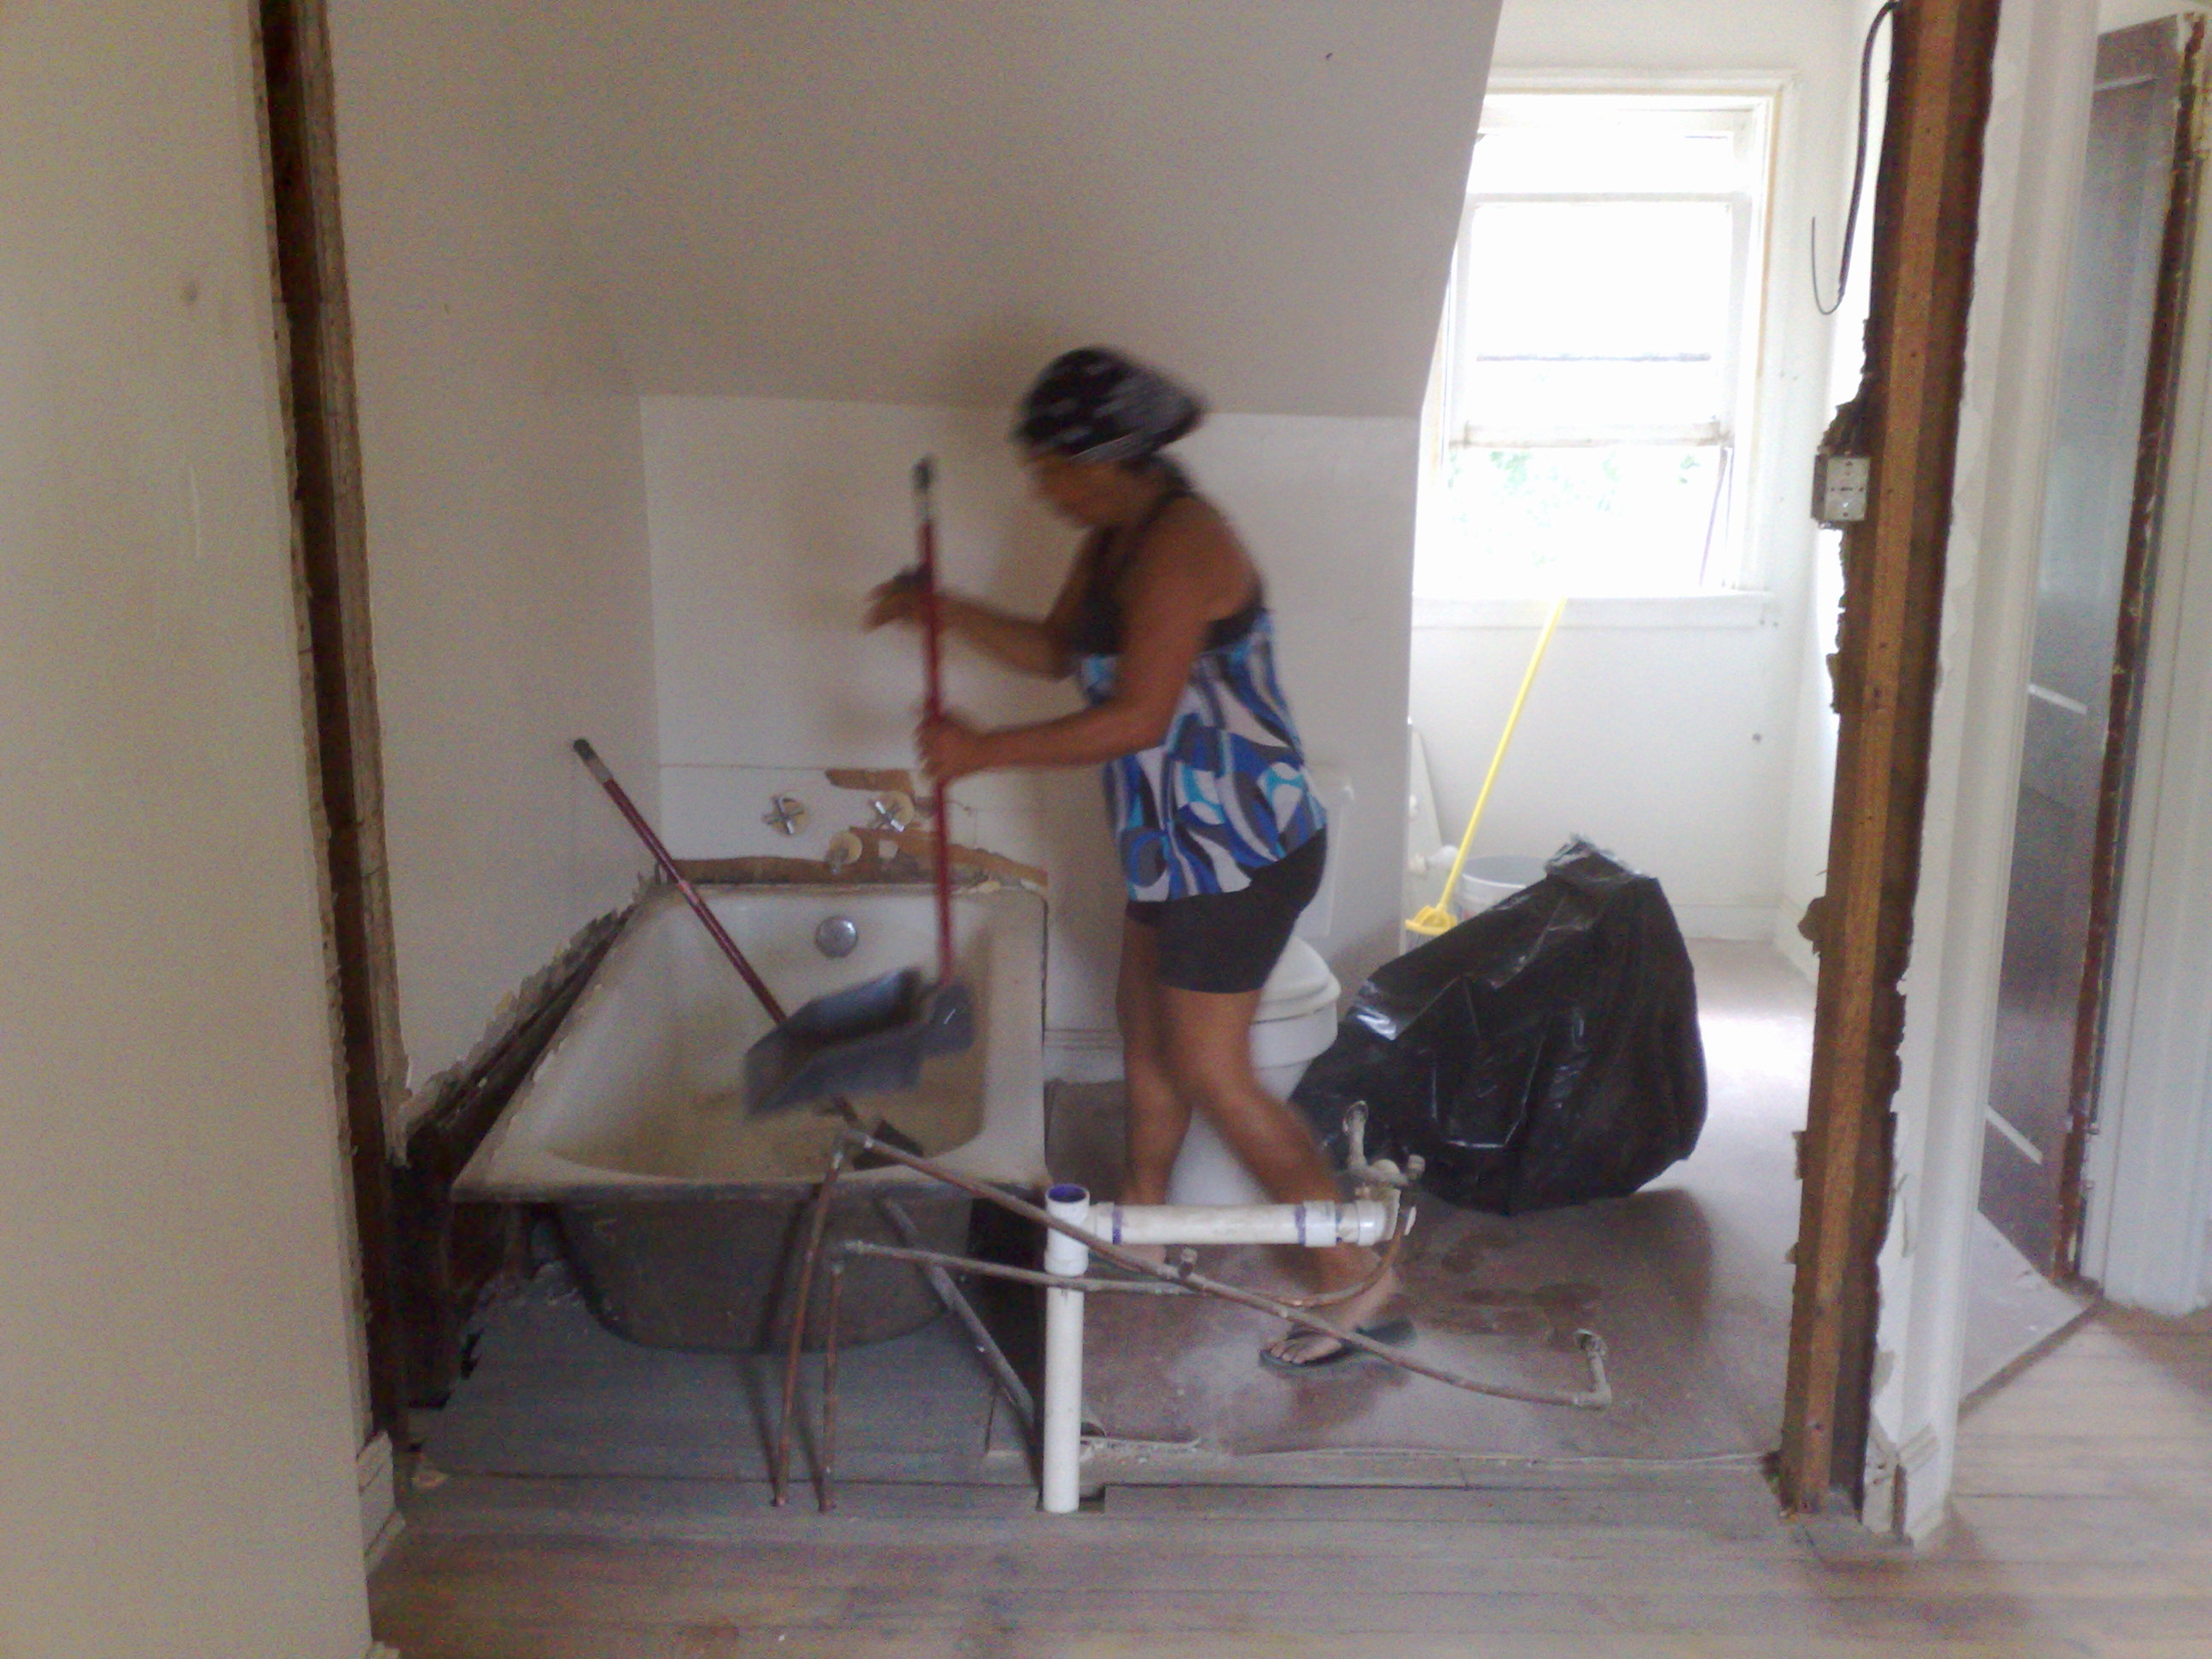
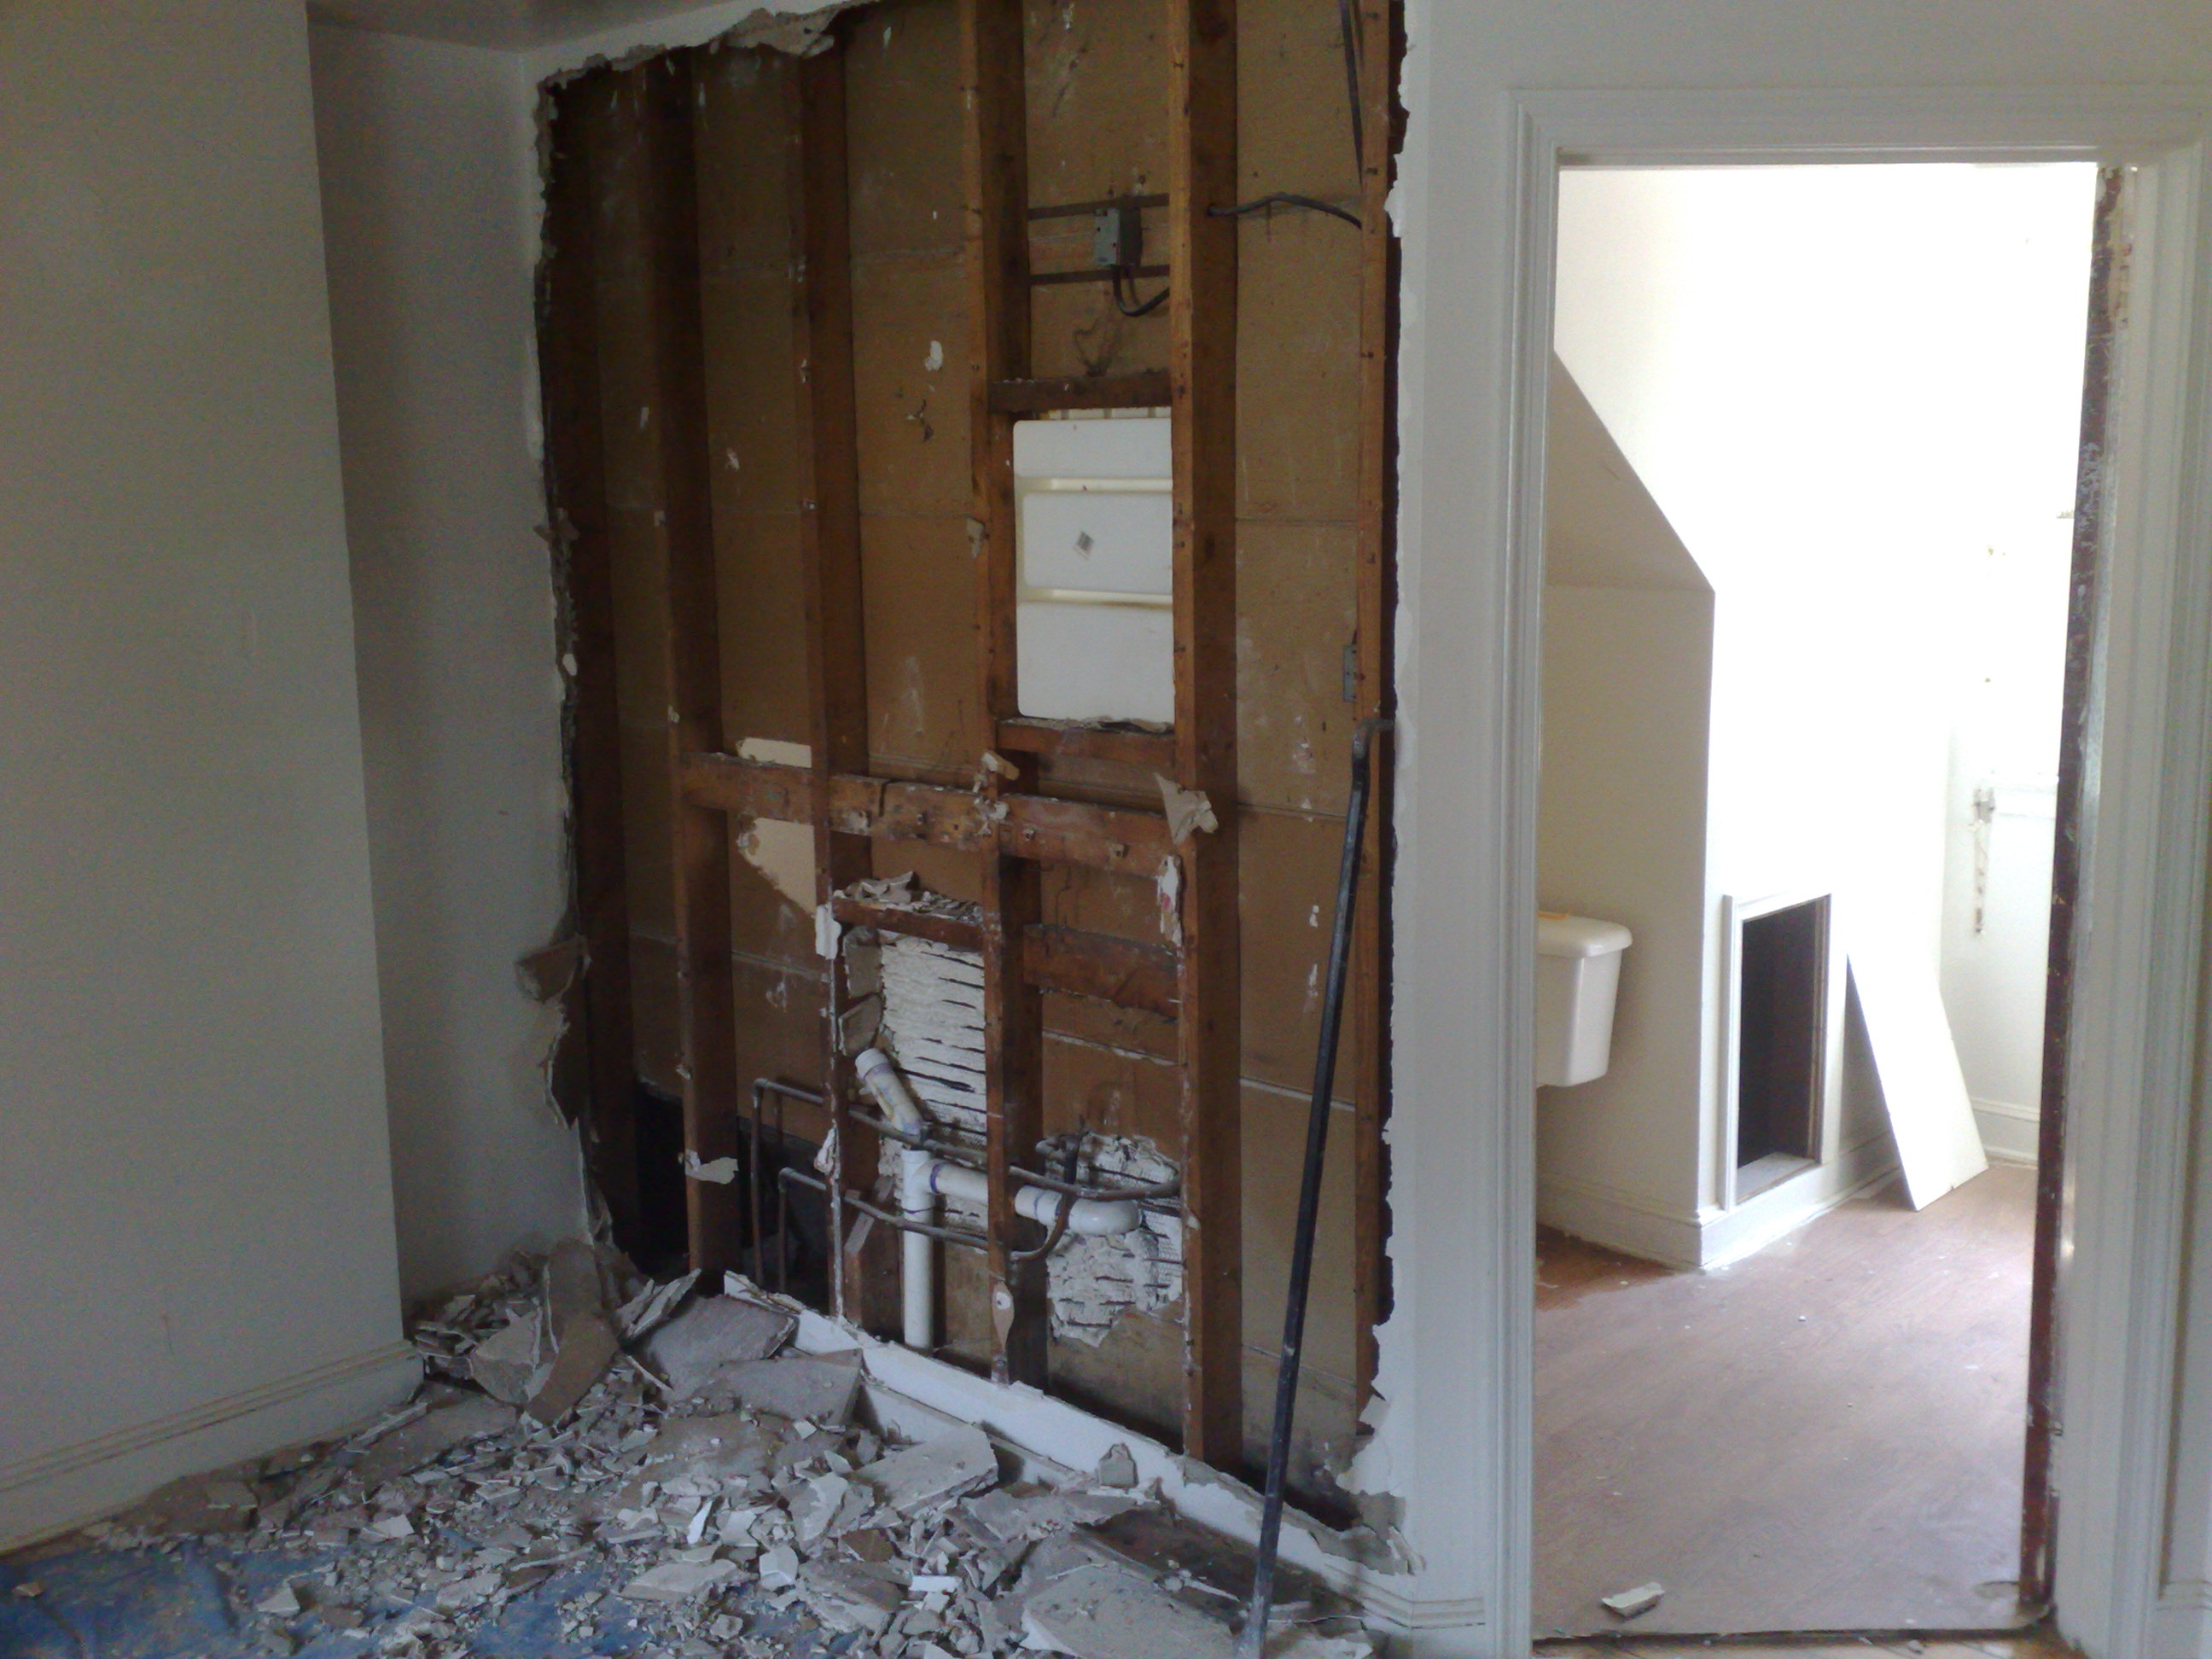 Out came the wrecking bar, hammers and other implements of destruction. It was much easier to remove the bathtub after we removed the wall. It was a plaster-over-wallboard wall, so removing it made a really big mess. My son and his friend were kind enough to move the tub down the stairs and outside. Later, when I took it to the recycling place, I found that it weighed 300 lbs (I got $18 for it). Once the demo work was completed and the bathtub as out, it was time to begin work on the new wall.
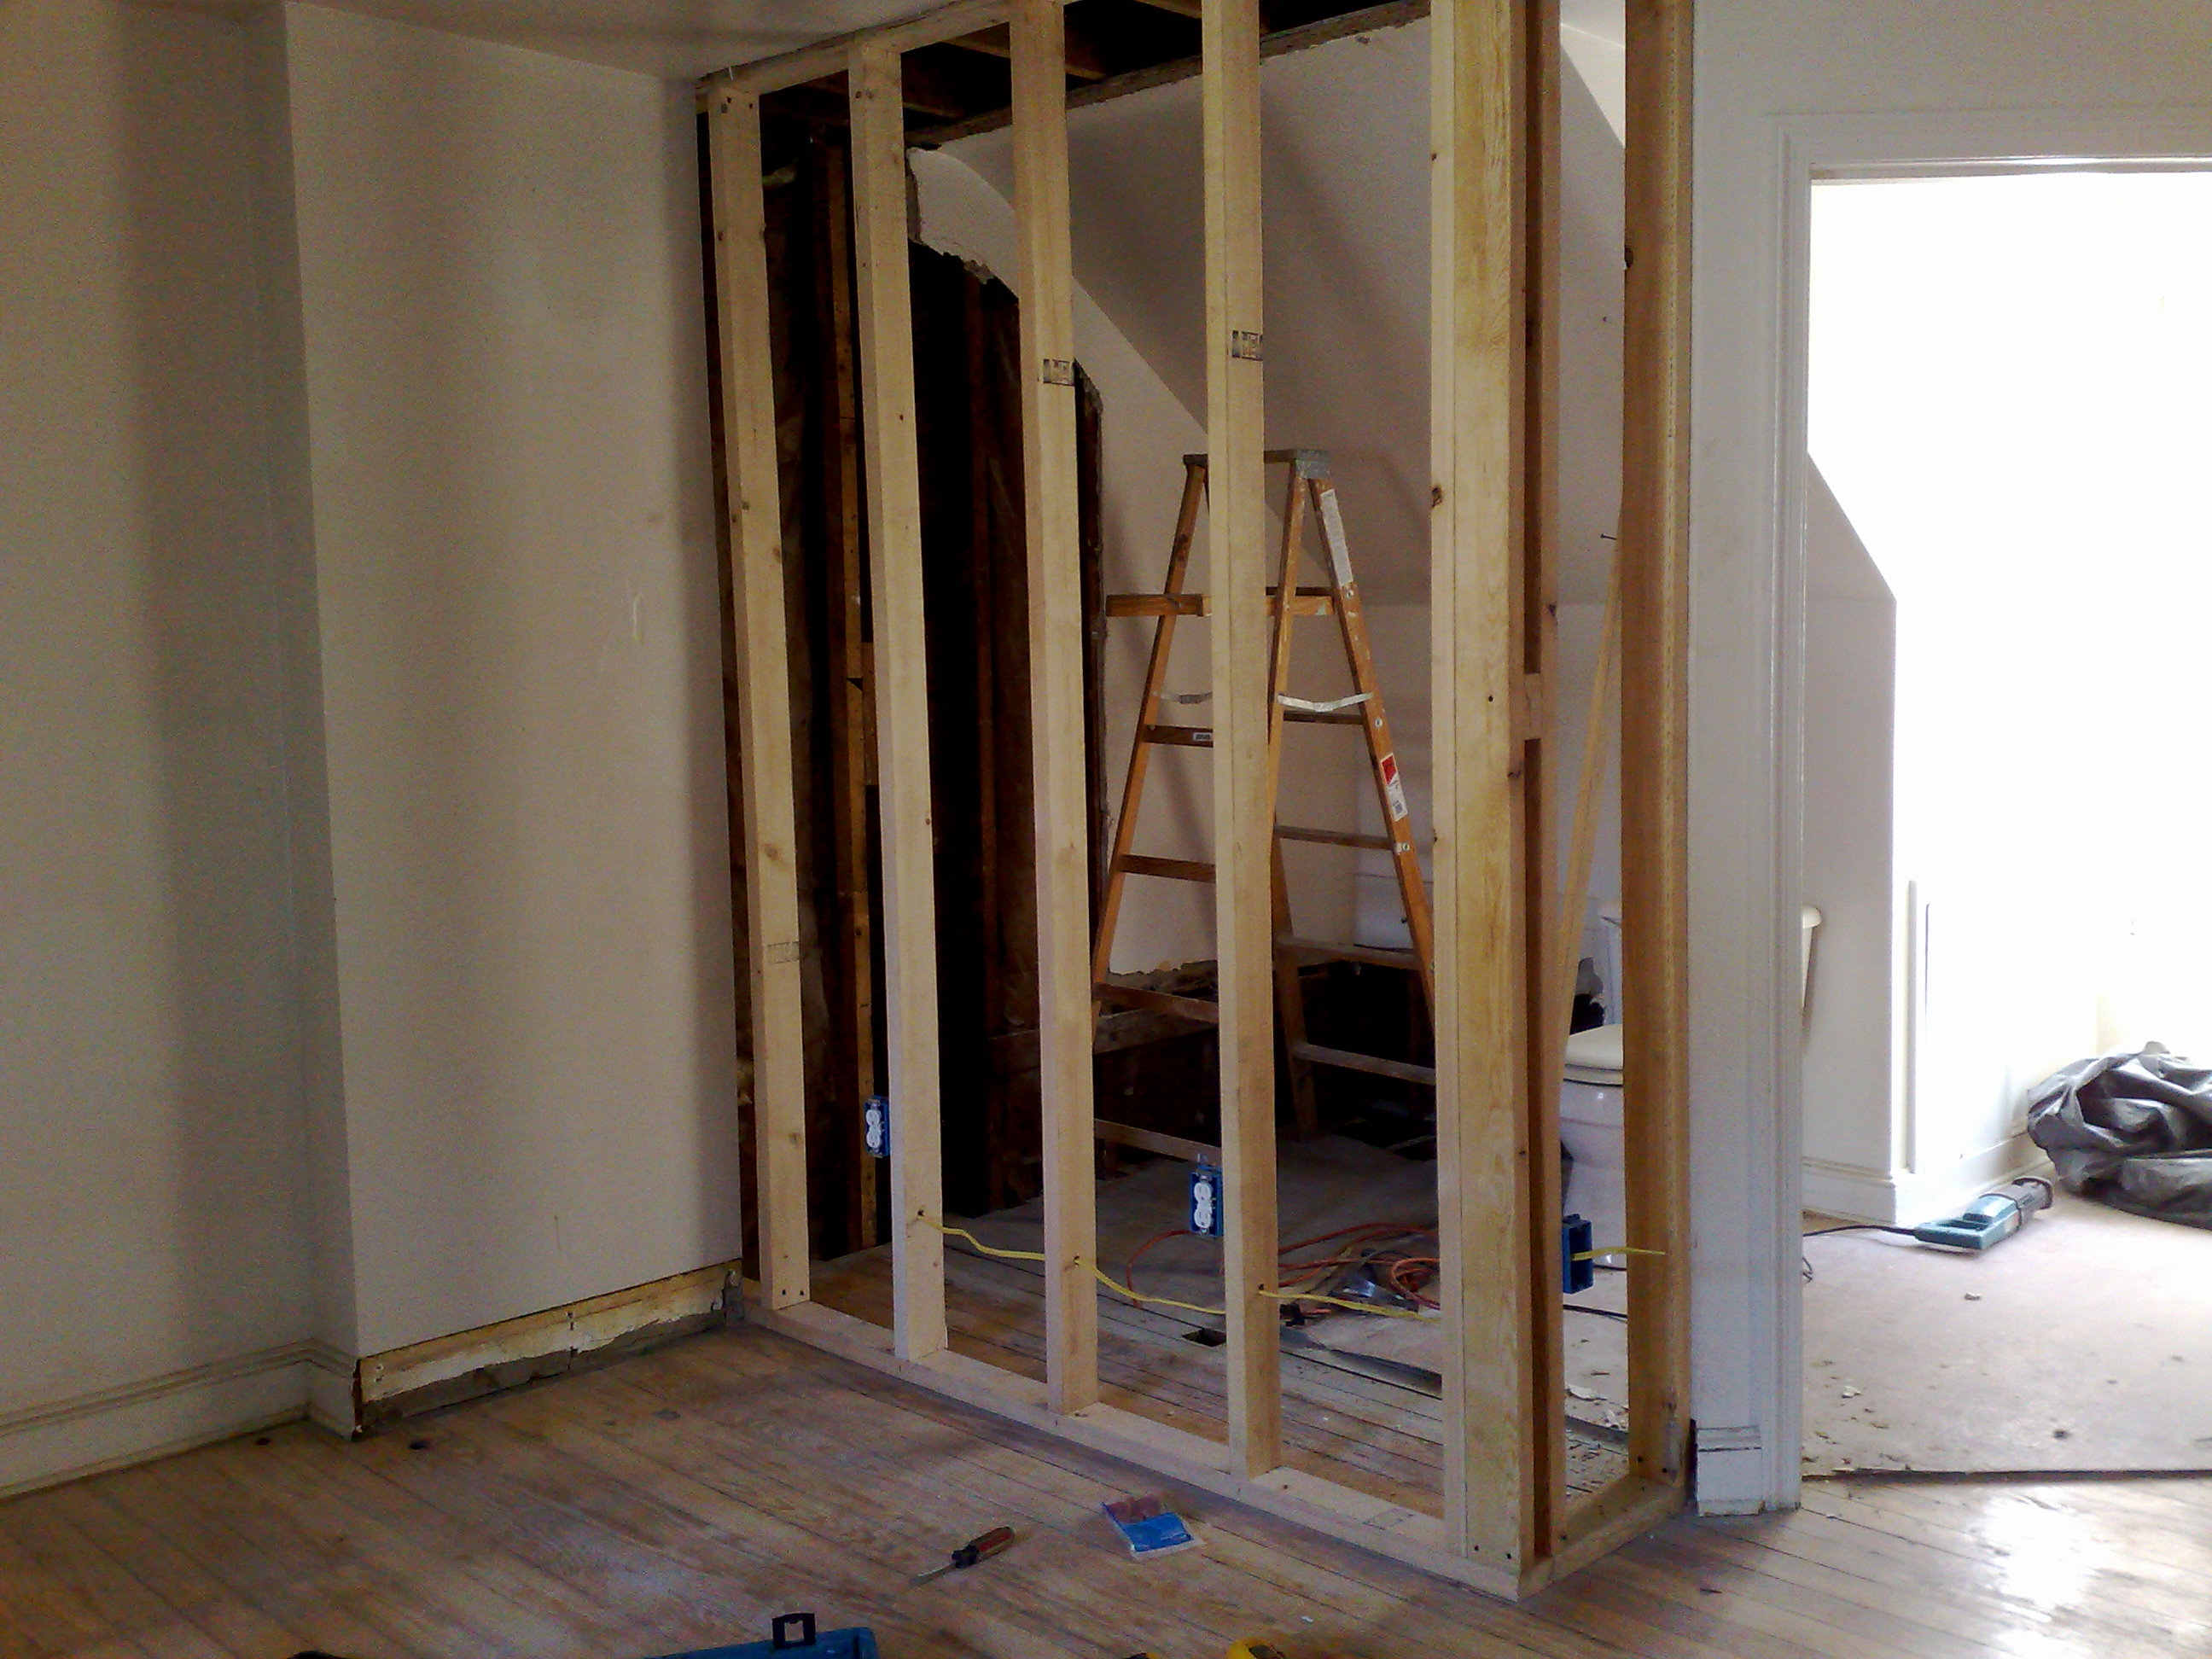
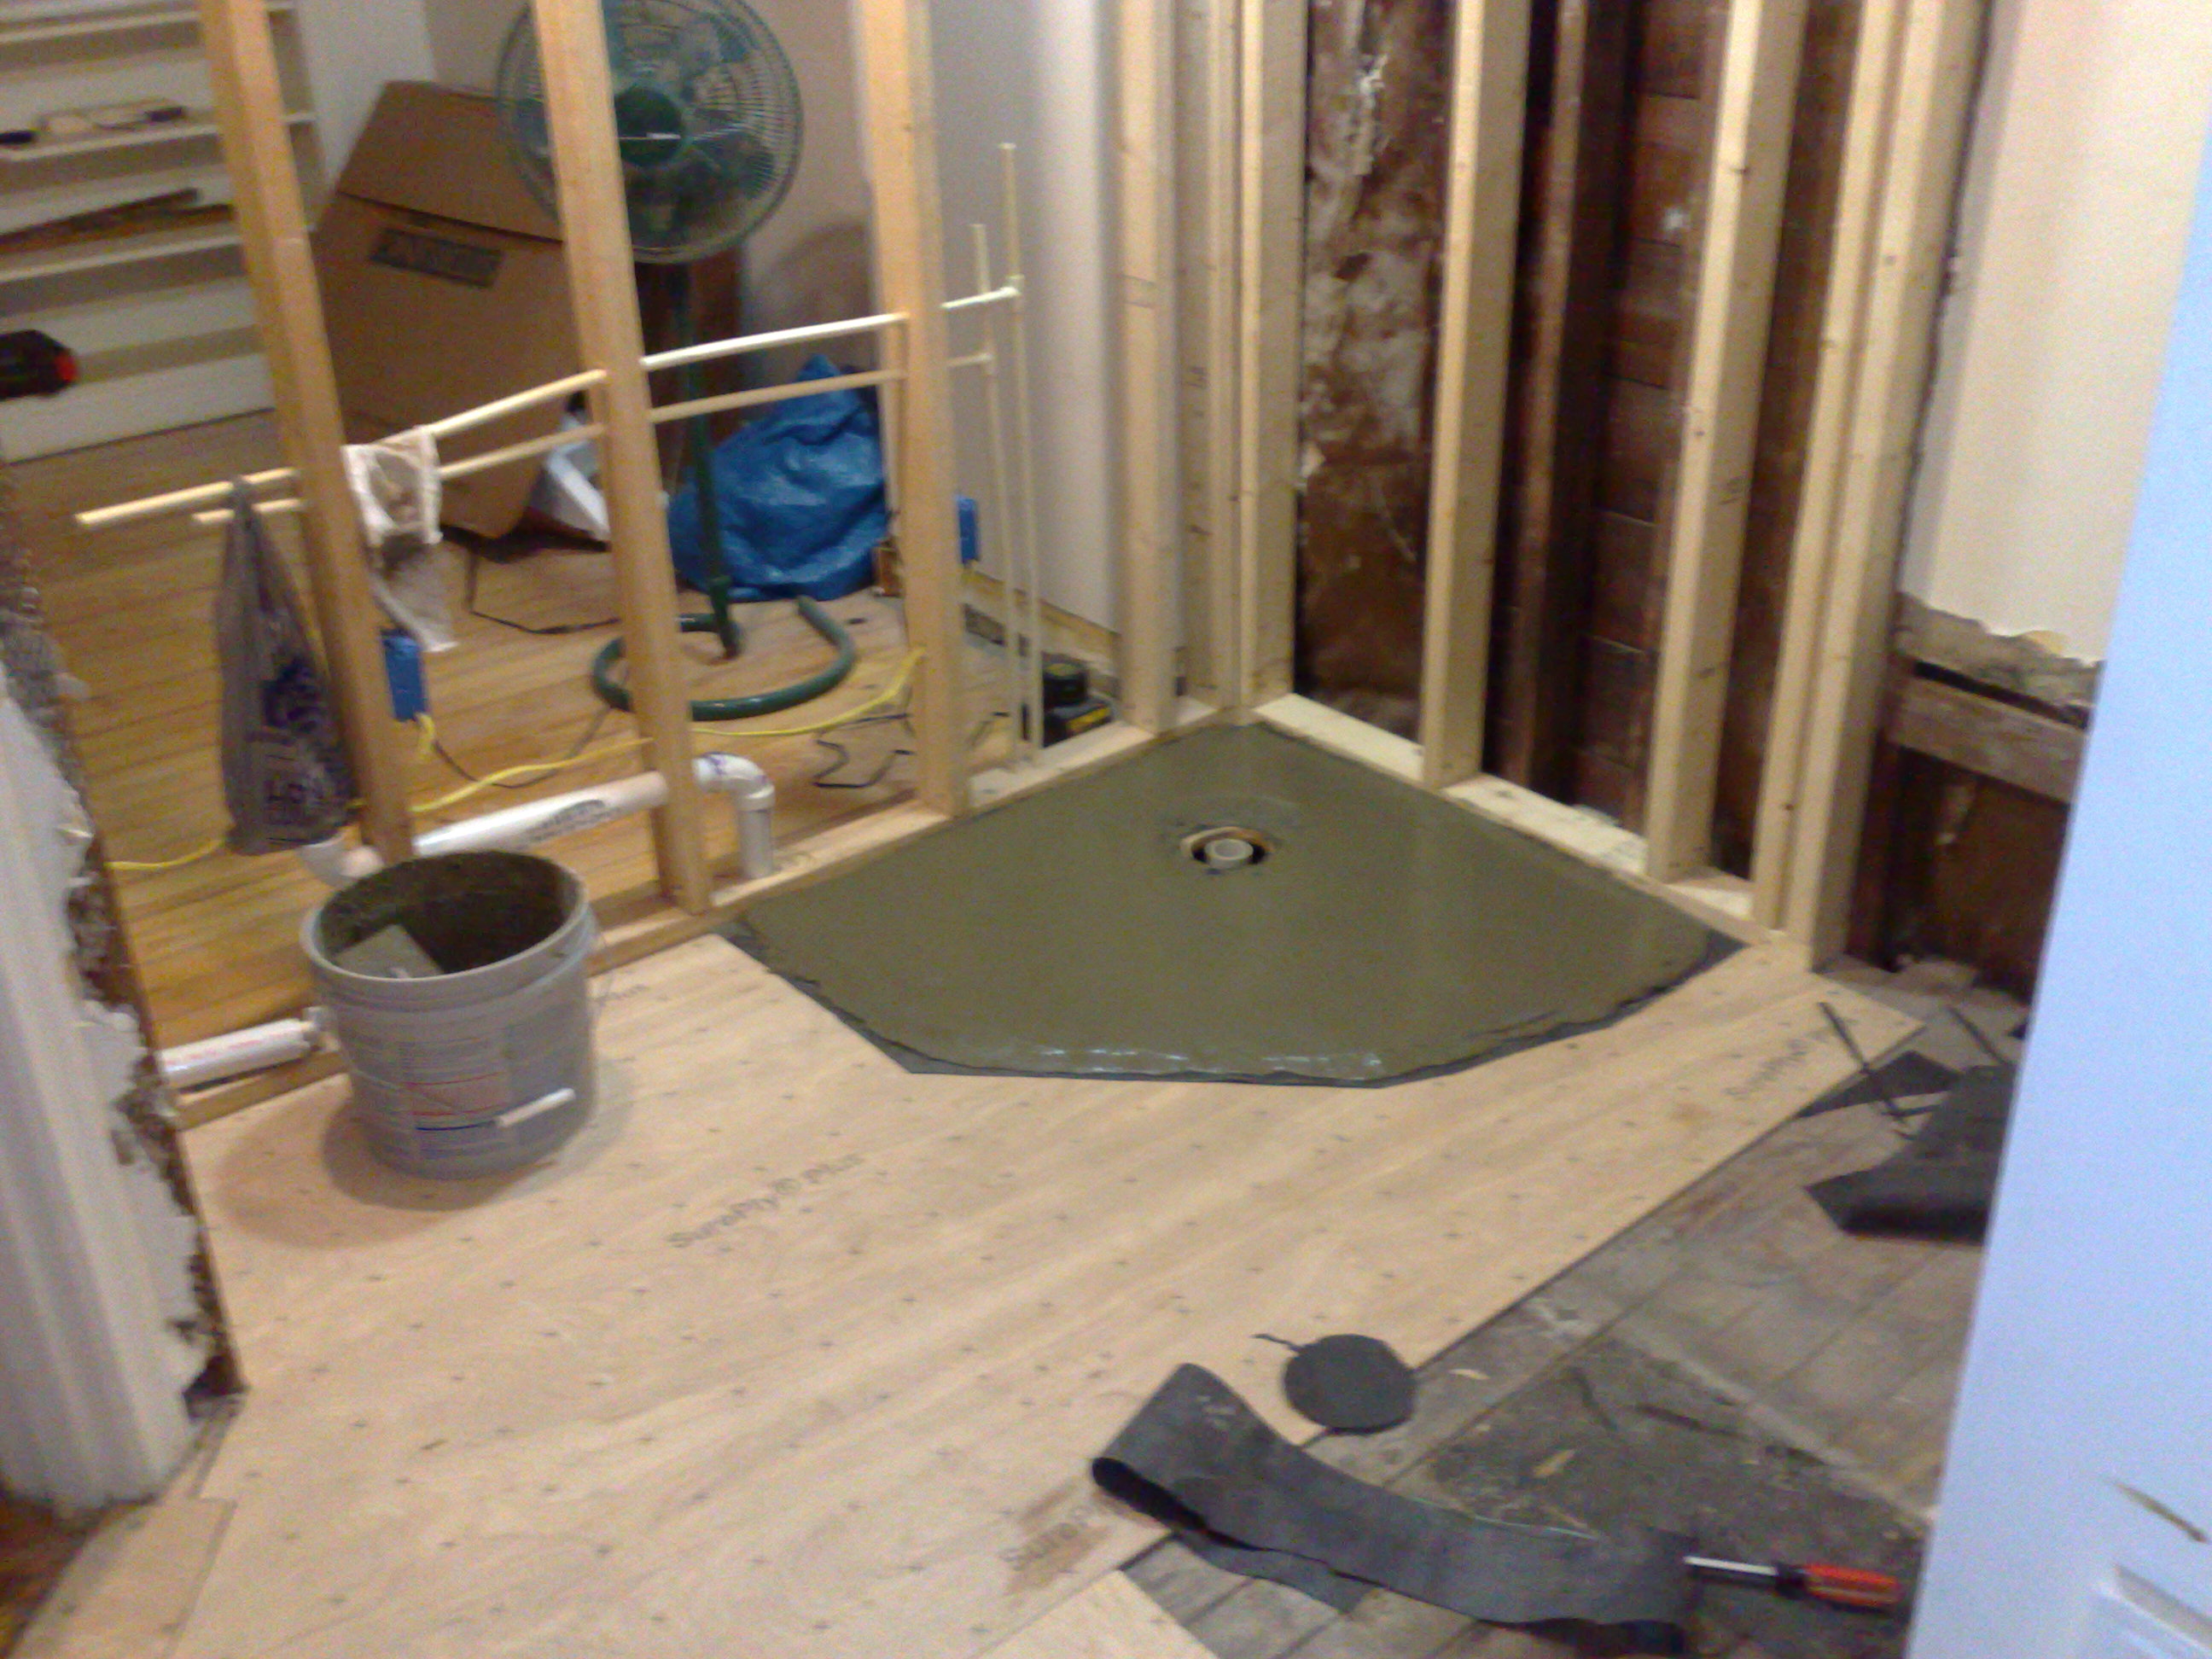
The new wall went in pretty easily, leaving me with a place to put my shower. While laying out the darn thing, I found that the shower’s drain line fell smack in the middle of a floor joist. Nuts. It IS possible to modify the floor system, but it would have been a real headache, requiring me to tear out the downstairs ceilings through two rooms. An alternative was just to build a stud wall against the outside wall just long enough for the shower. The additional stud width moved the shower drain inside of the offending floor joist, allowing a simple installation. Unfortunately, it also made a 30″ sink cabinet impossible (all of that planning out the window).
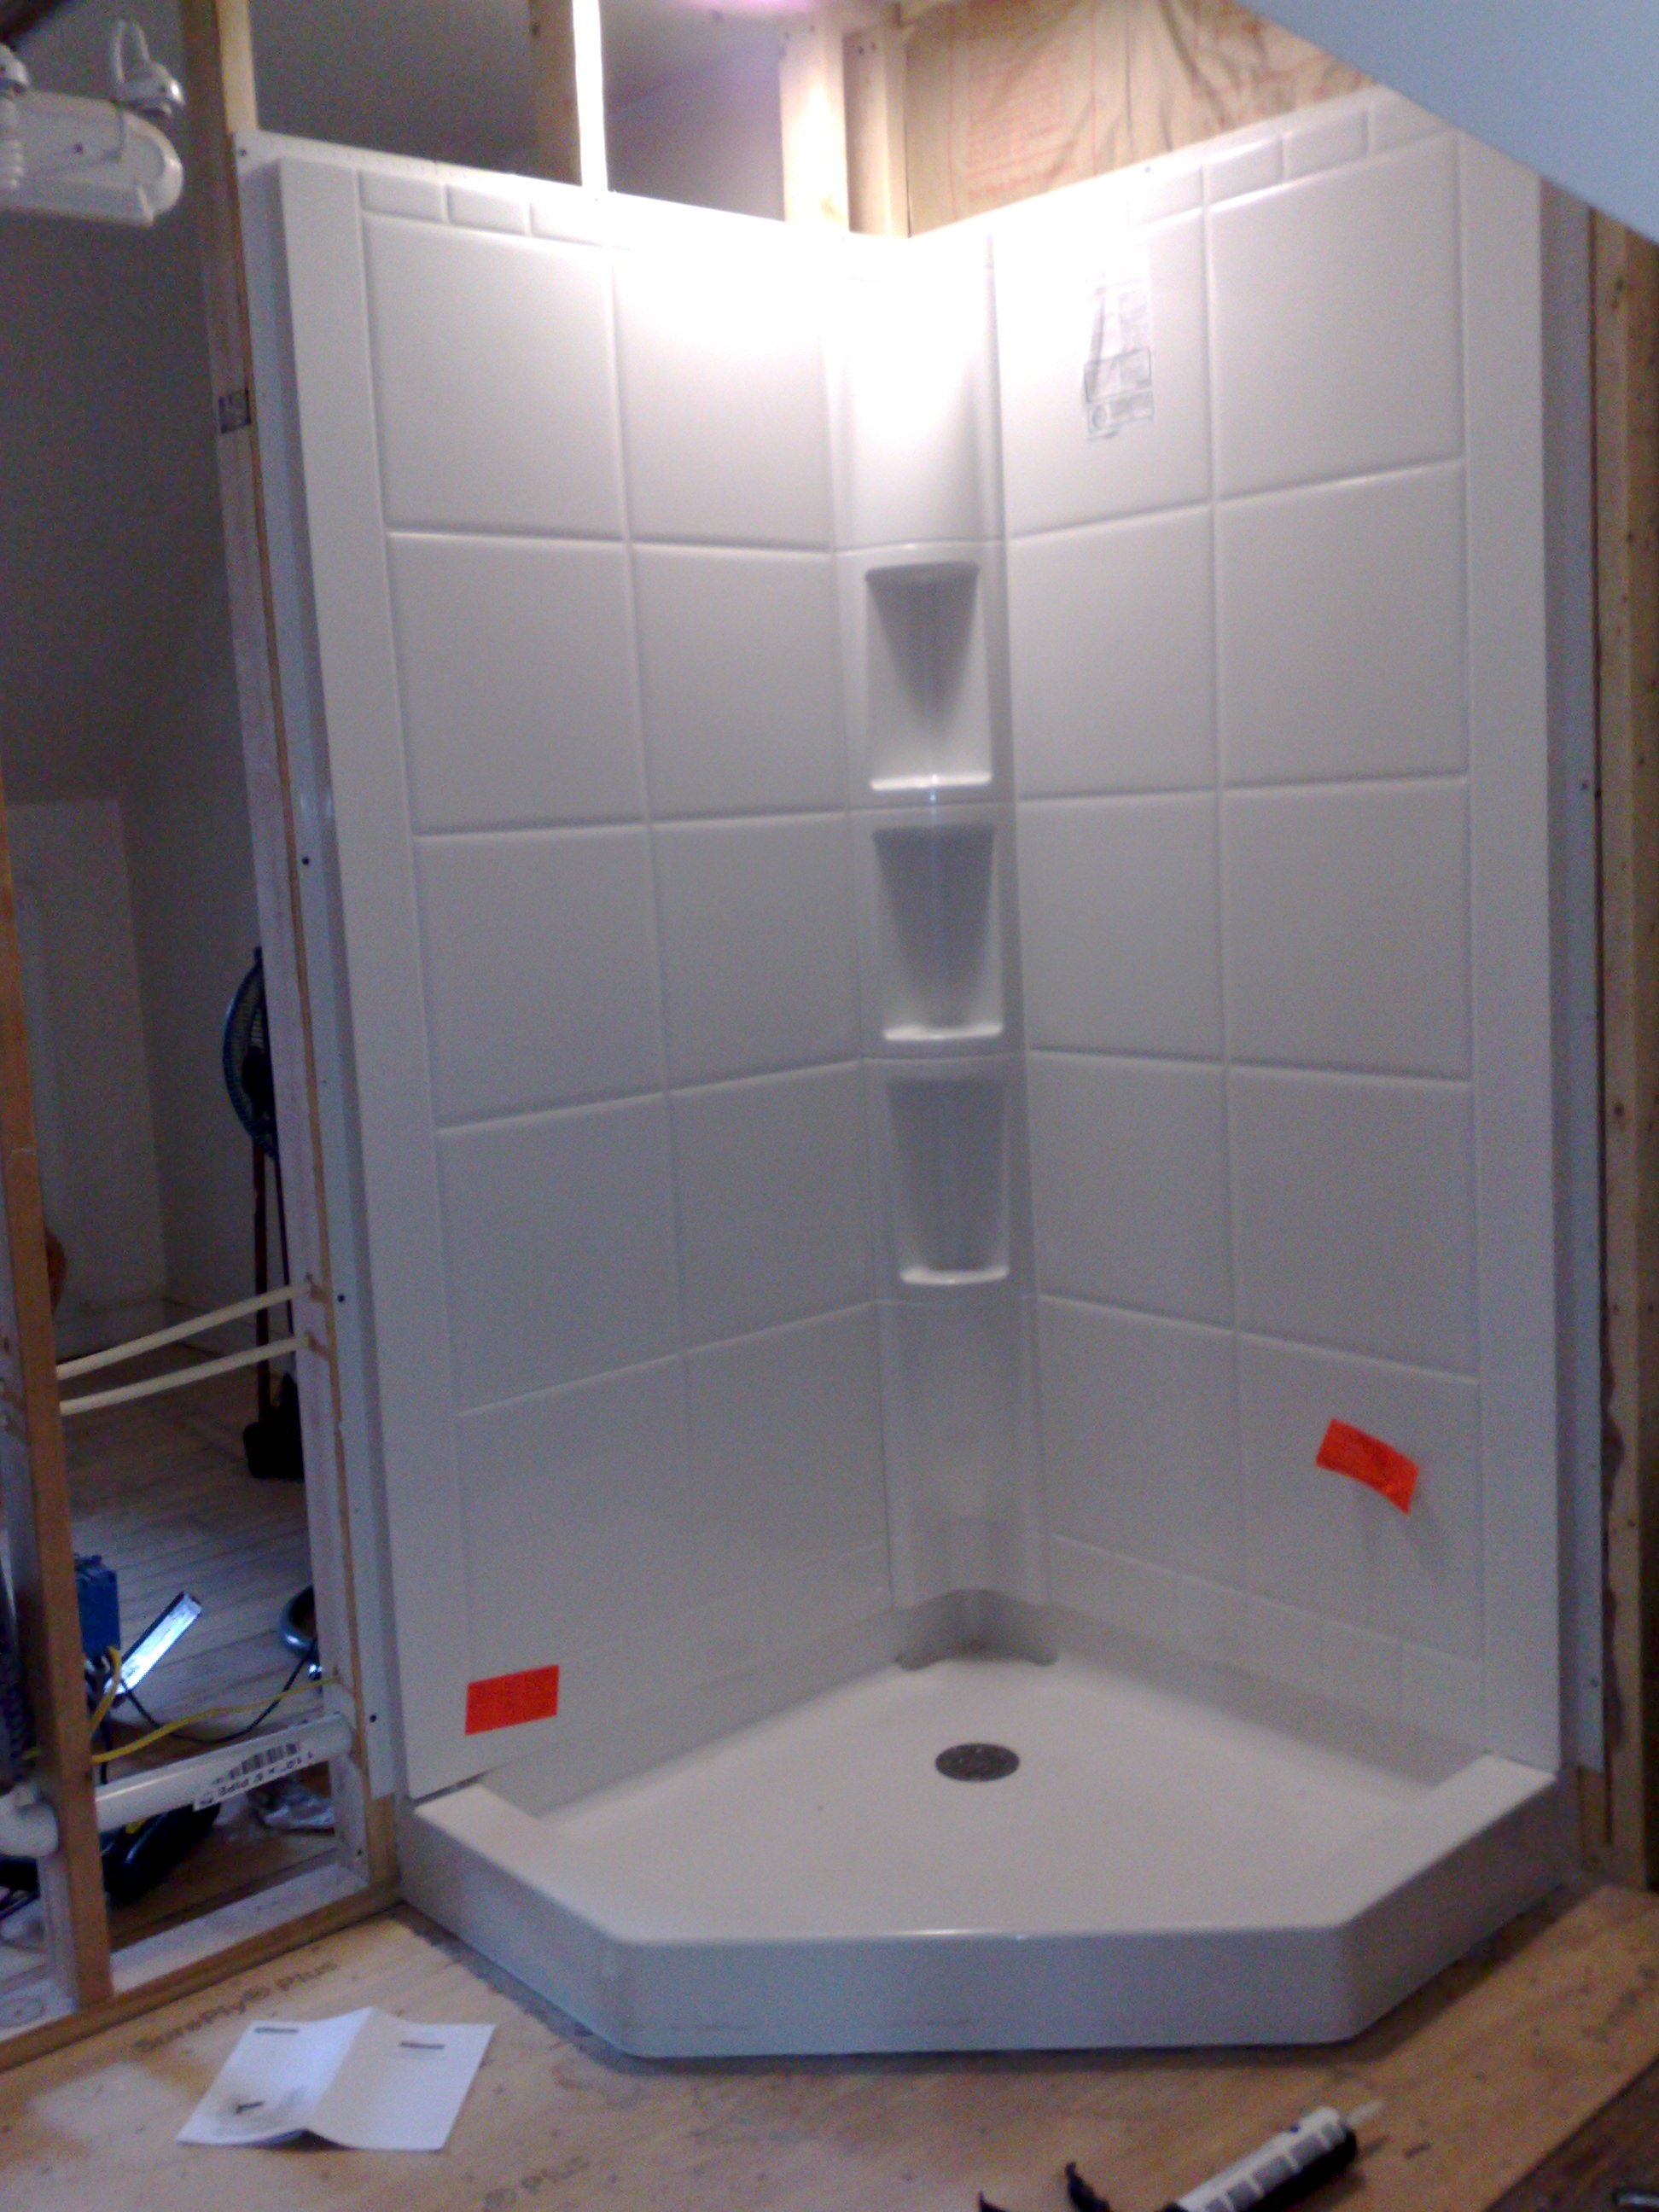 We installed the plastic shower base in a two inch bed of mortar (sand mix). If the base doesn’t move around, there’s much less chance of developing leaks – I also dislike the spongy feel of many fiberglass and plastic shower bases. The interlocking walls went in above the shower bottom easily. I installed a light/fan over the shower before starting the drywall work, venting it to the outside (I paid about $50 extra for a quieter fan – who wouldn’t?).
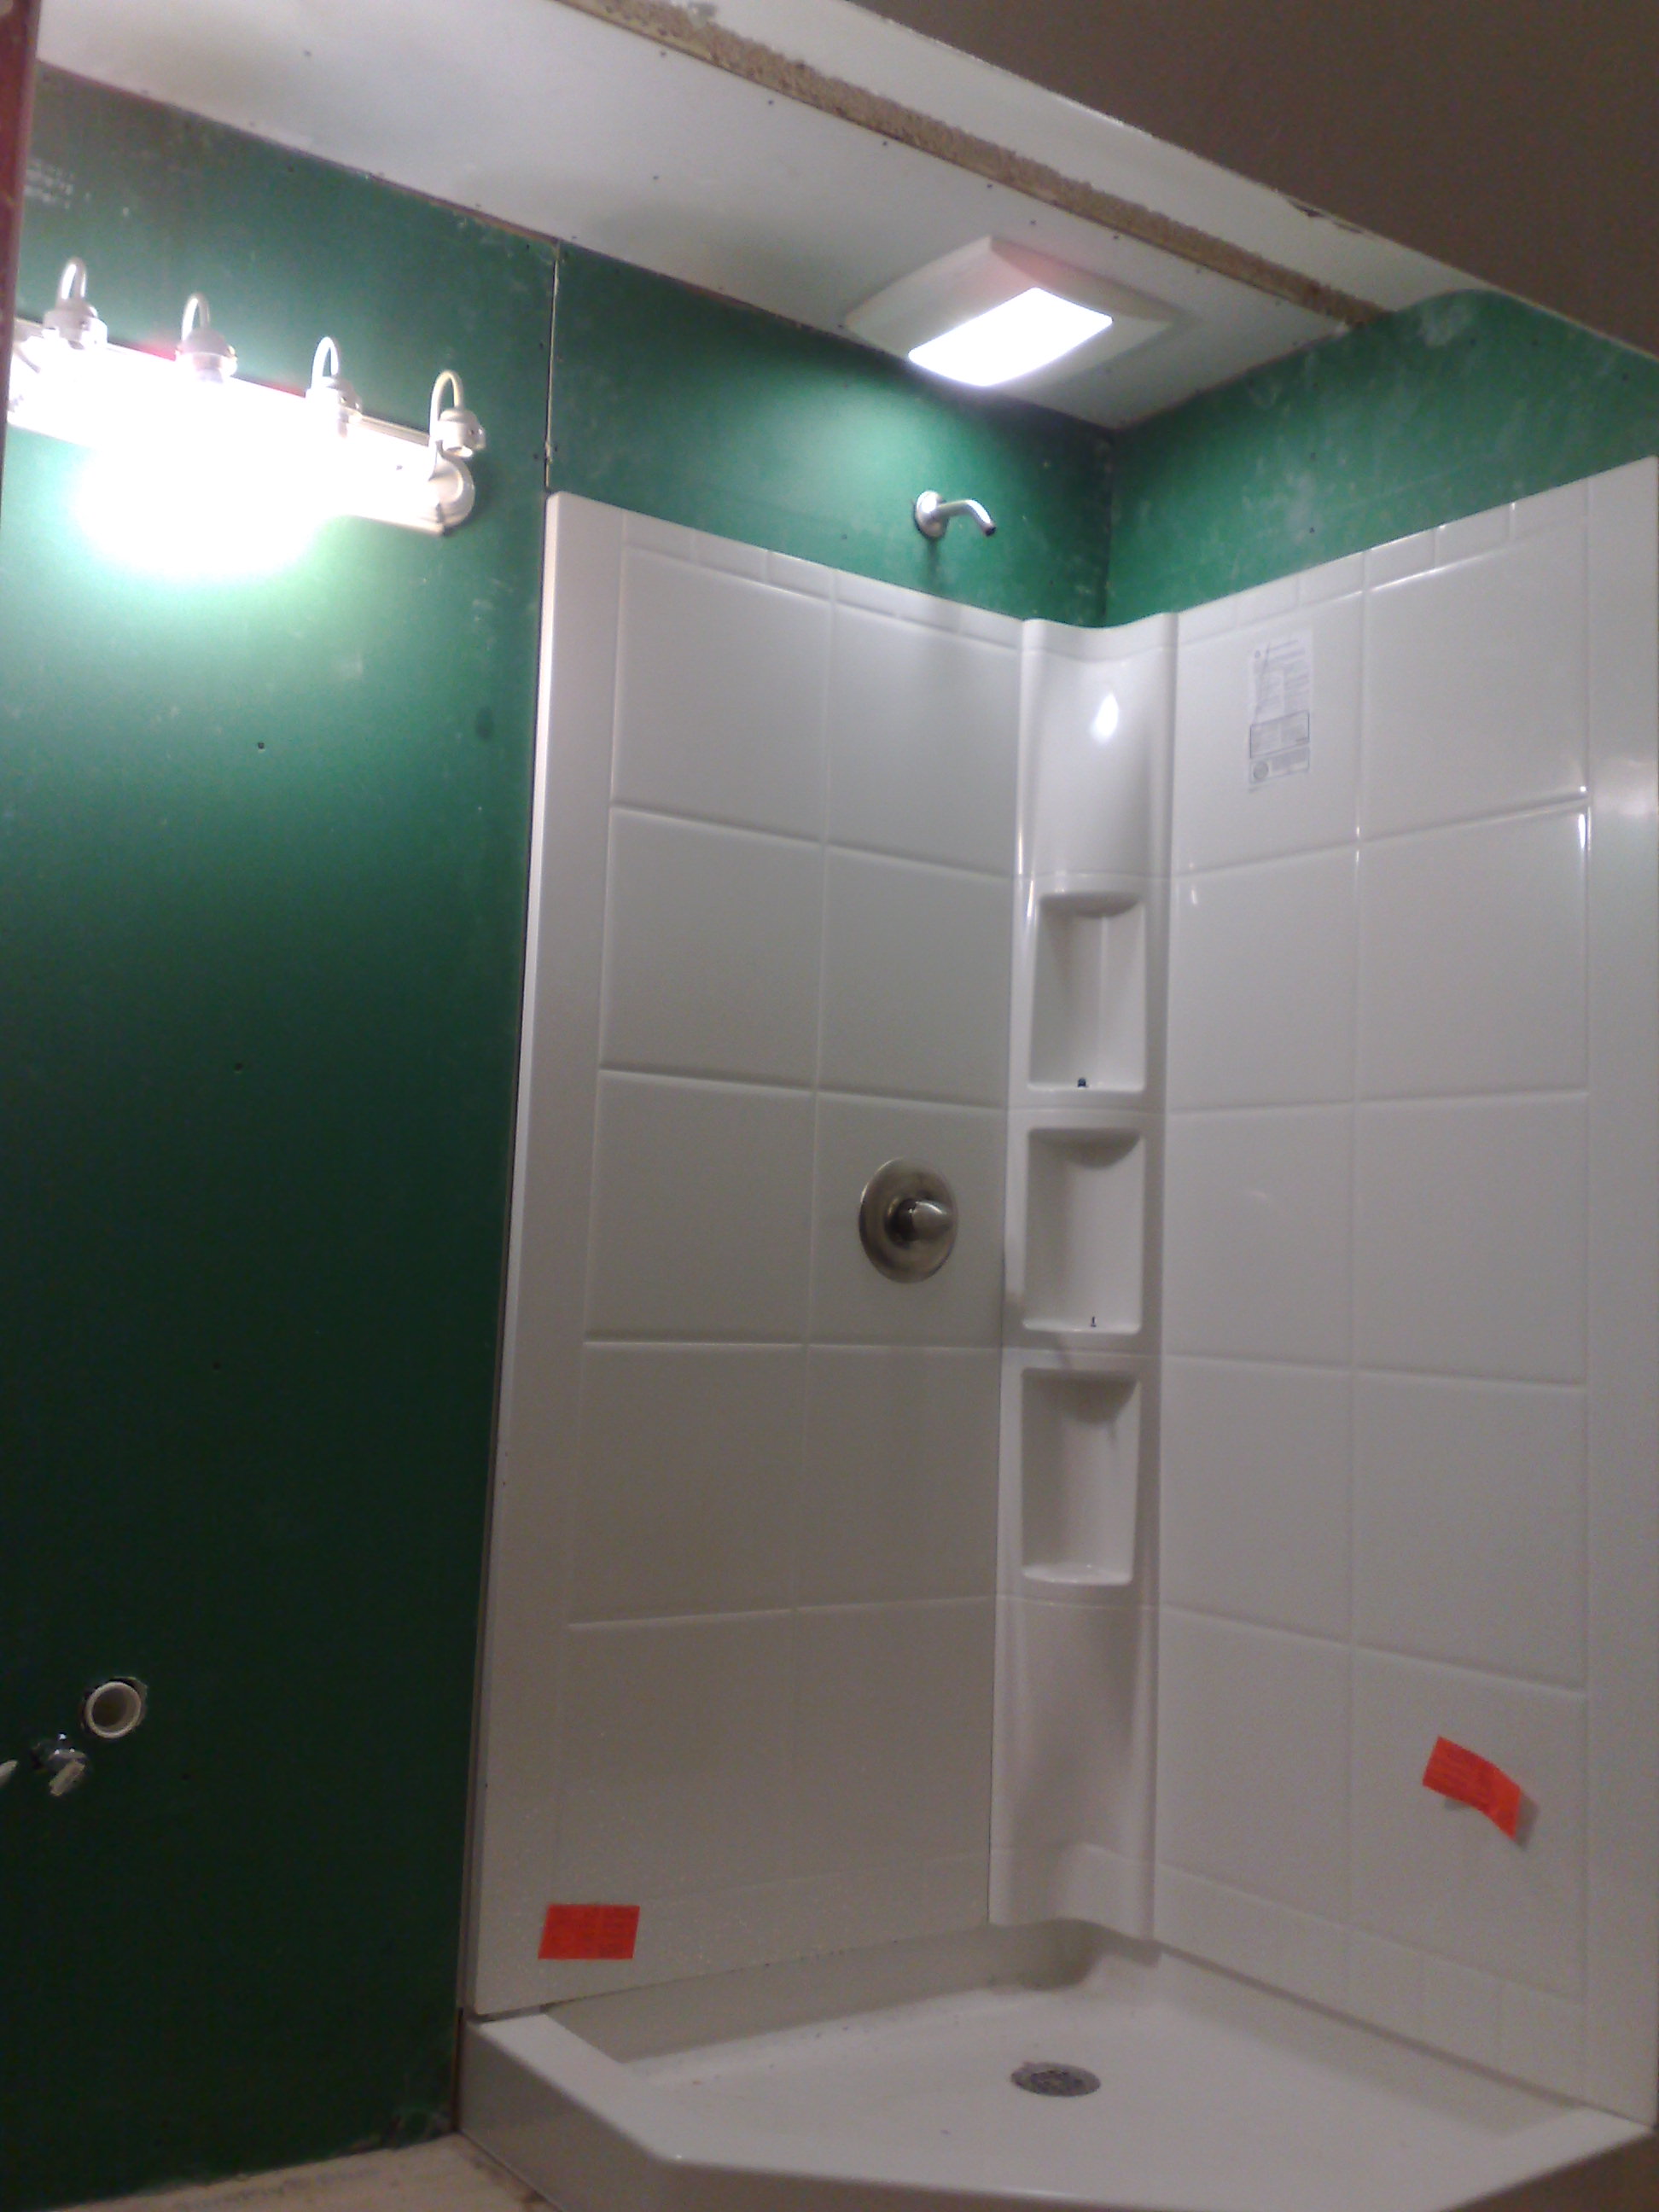
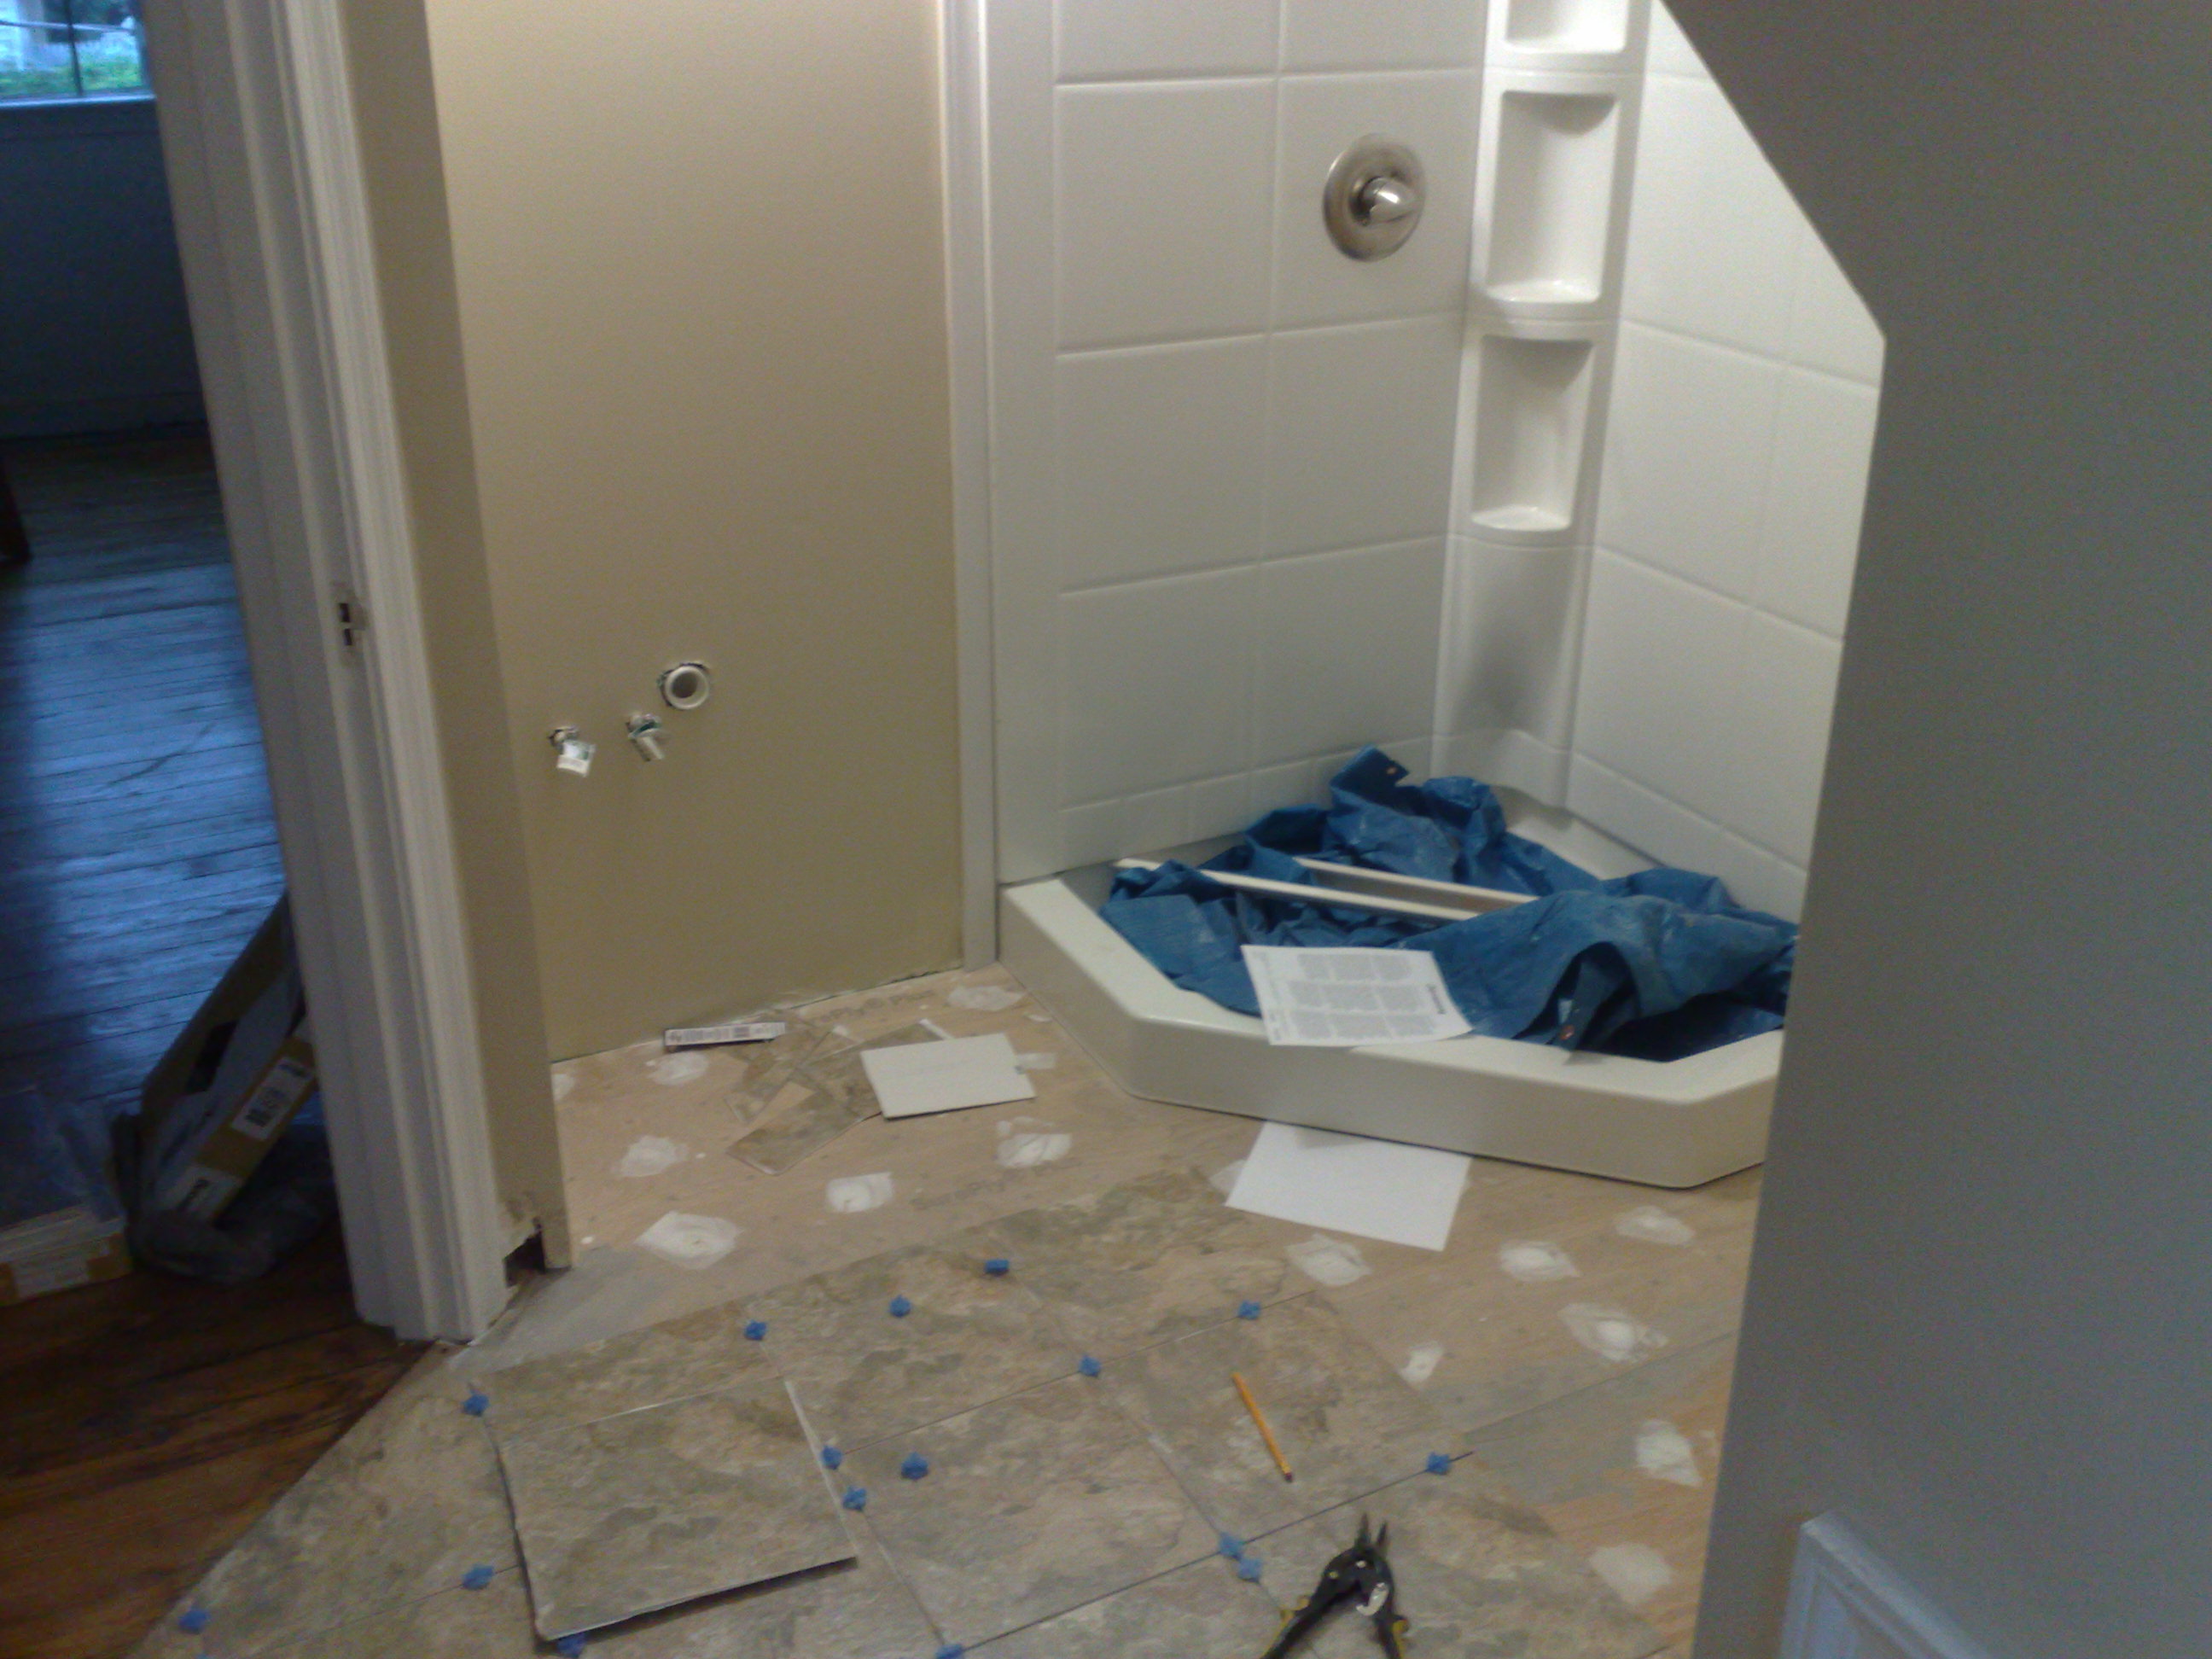 I used green (moisture-resistant) drywall in the shower area. I also stuck some extra fiberglass insulation in the interior wall (cut down on the shower noise). Monica and I settled on vinyl tile for the floor. We picked out a nice Armstrong peel-and-stick floor tile at the home center. While laying out the tile, a piece of paper fluttered out of the box – instructions on installing the vinyl tile with grout. Huh? Whoever heard of that?? Monica liked the idea, so we gave it a shot. It came out really well. Looks like ceramic tile, but it won’t crack and it isn’t cold on your bare feet.
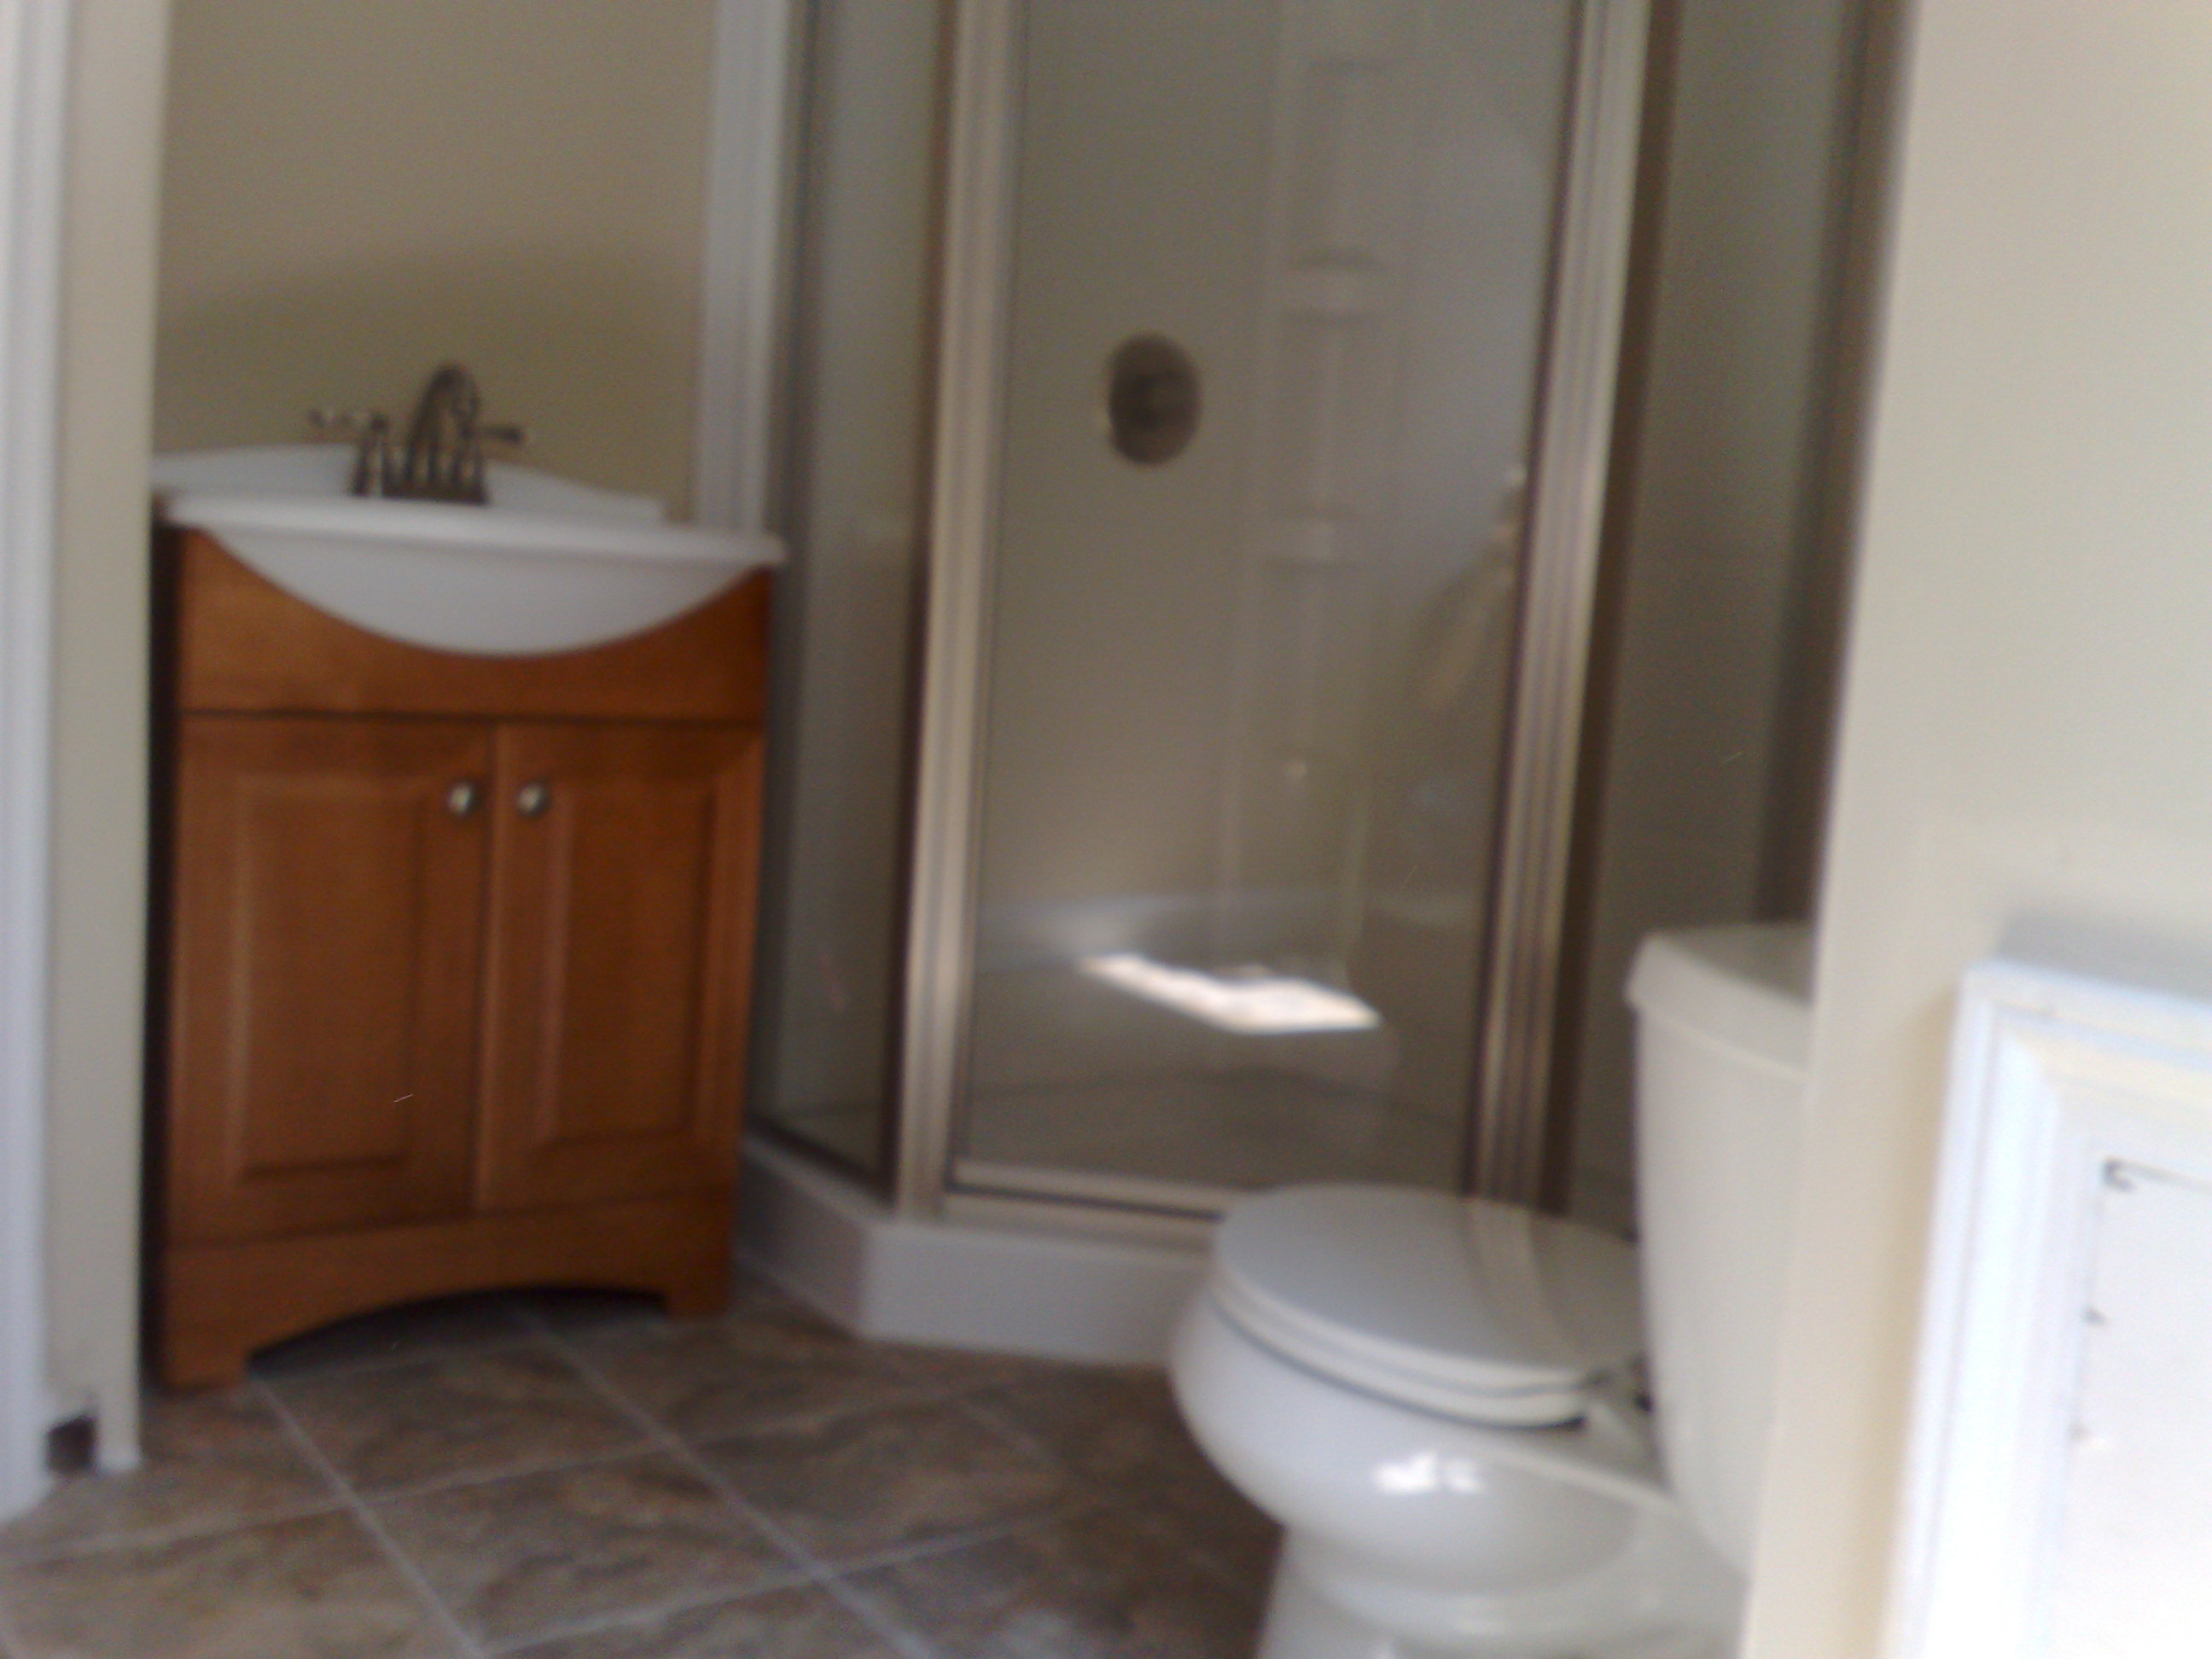
Moving the wall 18″ left a nice little pocket for a sink and cabinet. We used a narrow cabinet to try to keep the small room from seeming too small. Standard home-center mirror and light were later installed above the sink.
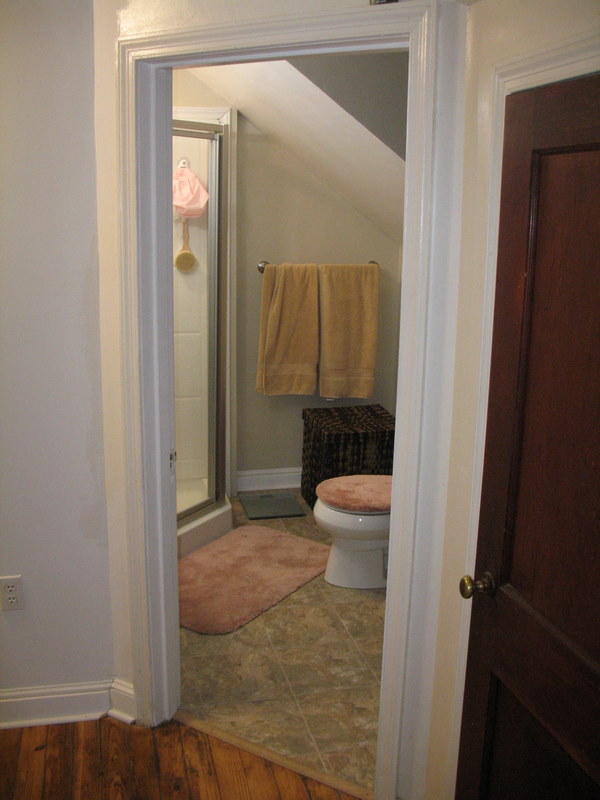
Off to Walmart for the towel bars and such (half the price of the home center for the same stuff) and the room was done. Now that we have a functioning bathroom (we tore out the downstairs one, too) and a kitchen, we can move in.
Leave a Reply