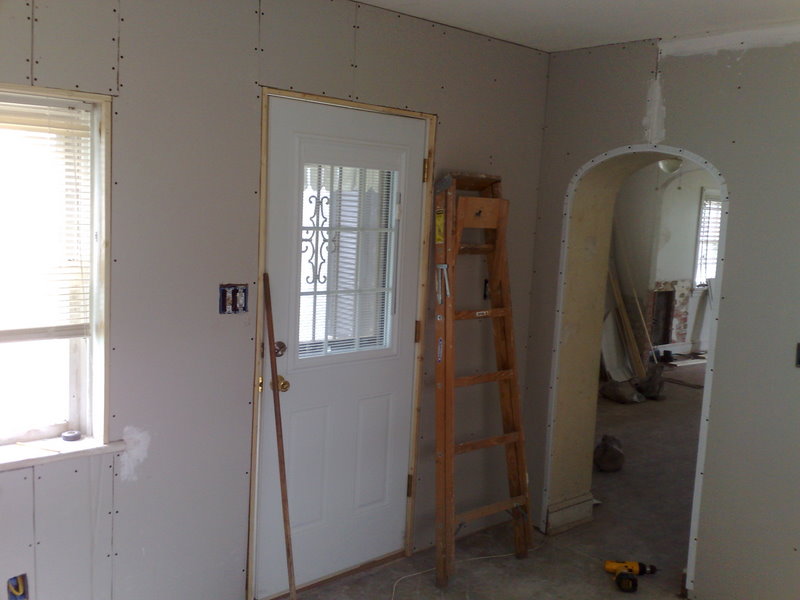
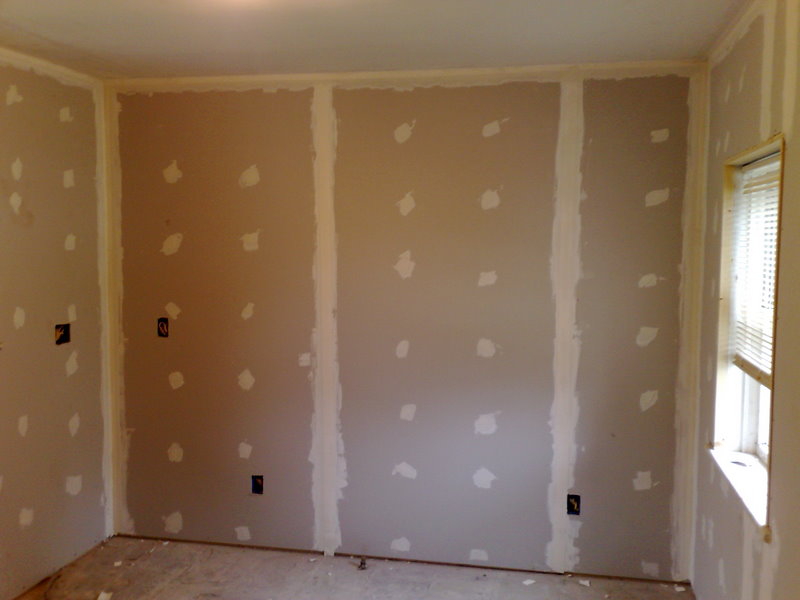
We didn’t really have anything in our kitchen except an icky ceramic tile floor and a lot of bad tile work. Under the tile work, we had that really cool fake brick. After messing with the stuff for a day or so, we decided that the best way to deal with the icky stuff was just to remove the walls. Our house’s walls were not lath and plaster, but plaster board nailed over studs with a skim coat of plaster, making for a smooth surface. Today, drywall is the way to go, and that’s what we used to finish the walls after we tore everything down.
Some interesting stuff about the construction of the house.
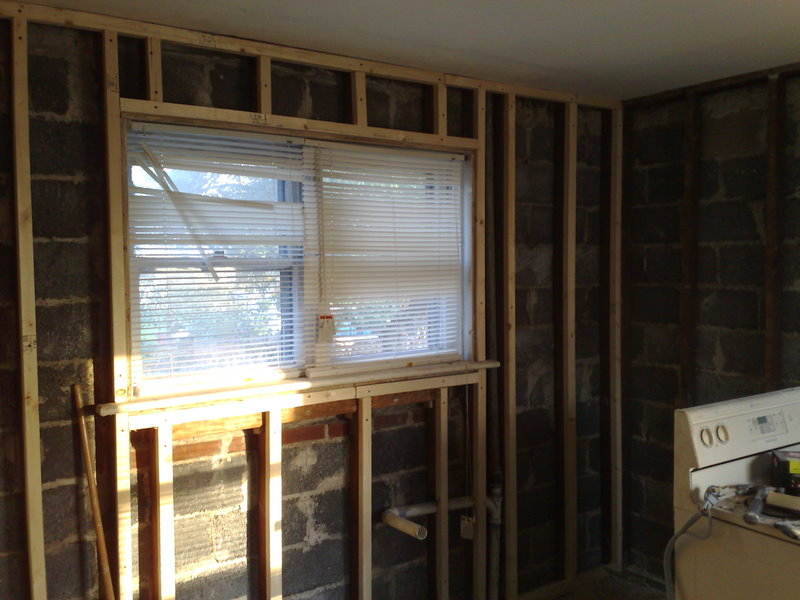
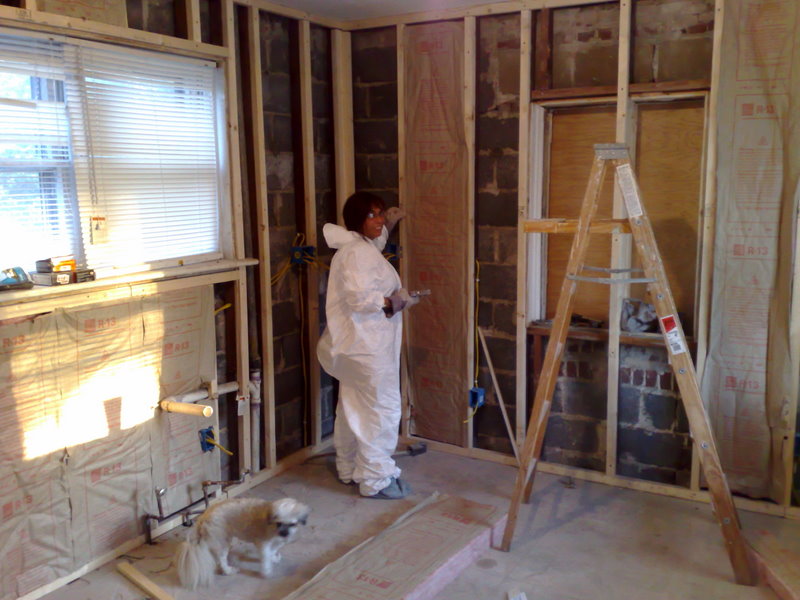
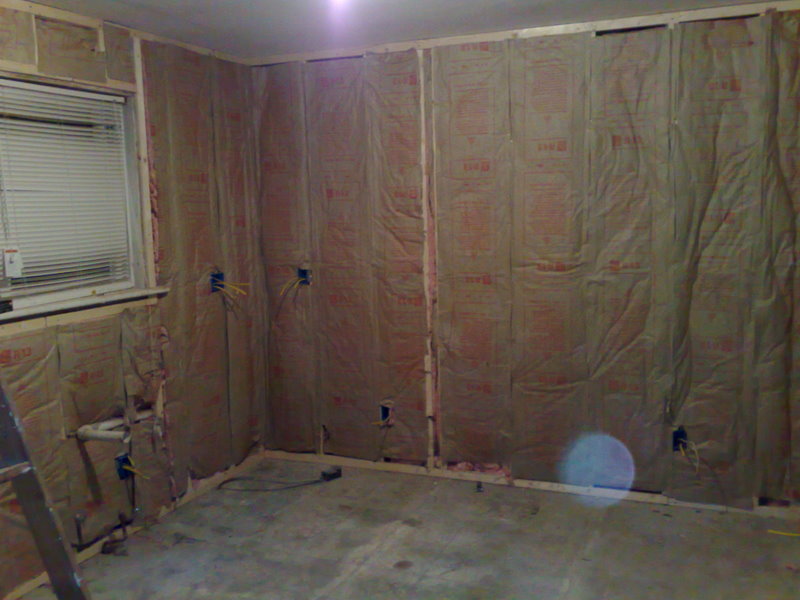
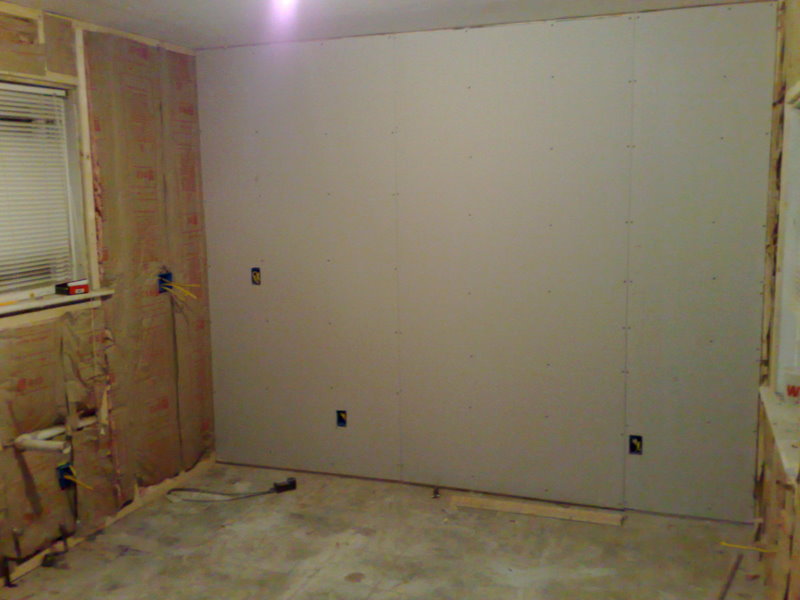
The studs didn’t really support anything and just seemed there as support for the plaster board. The cinder block wall is plenty strong anyway. In order to have enough room to add insulation, we had to rip 2x4s in half lengthwise, adding them to the existing studs to get a standard wall cavity for the R13 fiberglass. Of course, this made our room a bit smaller and played heck with the trim work, but insulation was a must – especially in the kitchen, where three of the walls are outside walls.
This house is seventy years old, and has all of the original wiring intact, with almost no changes. We have between one and two outlets in each room – including the kitchen. The service panel has been updated, so adding the new wiring and circuit breakers as we go along isn’t difficult. The kitchen was easy – we opened everything up. Most of the rest of the house will be a little mre trouble.
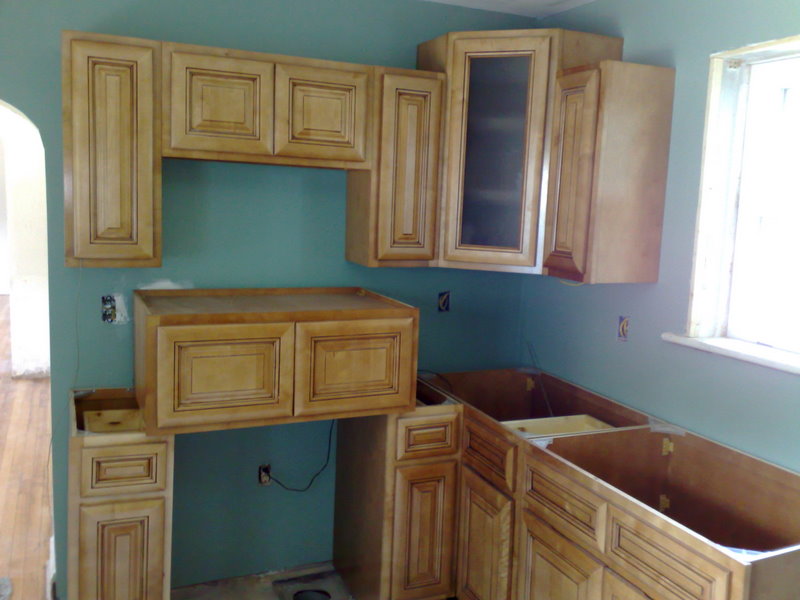
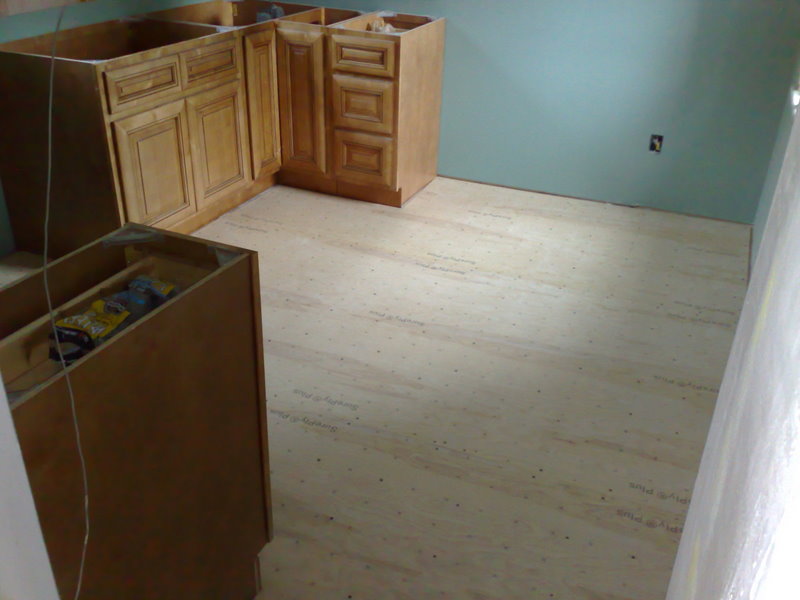
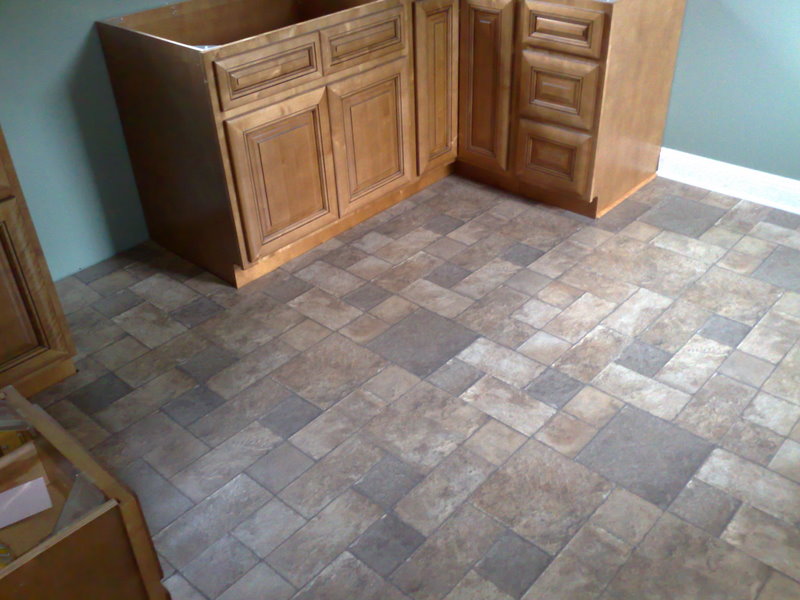
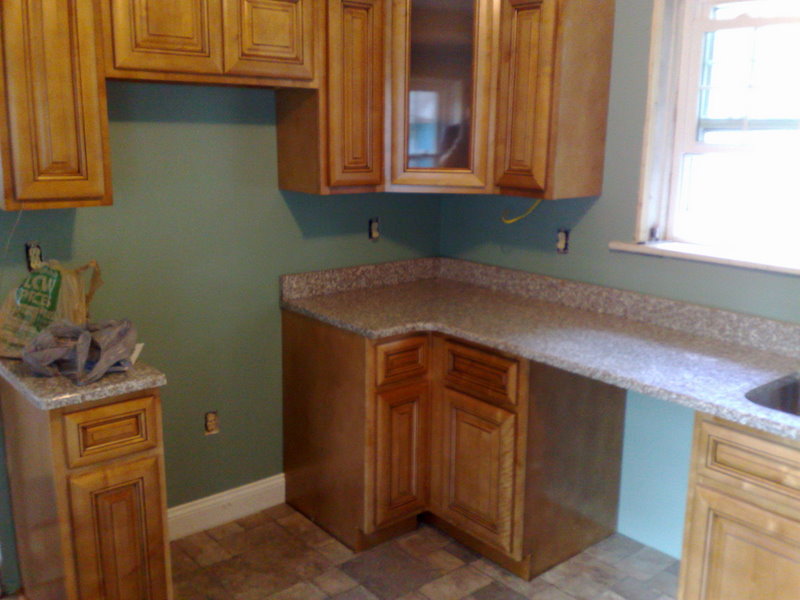
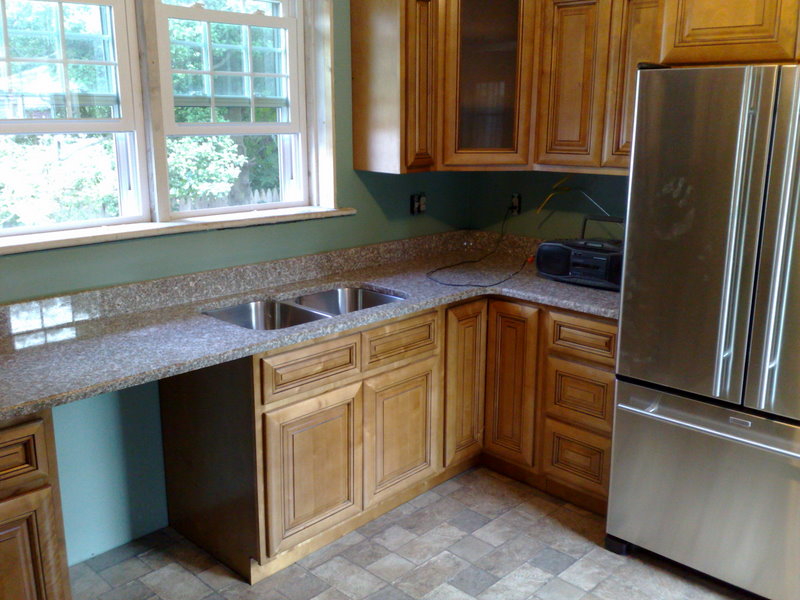
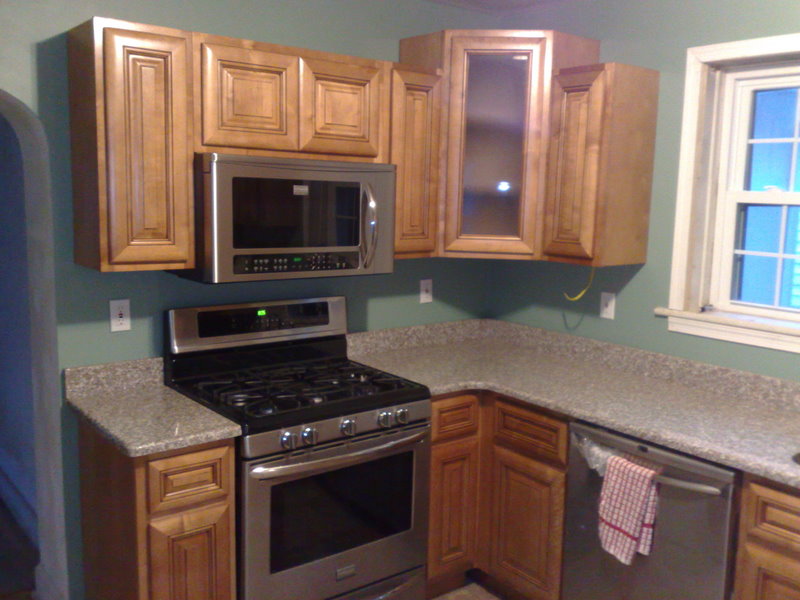
From here on, we’ll just do photos with captions….
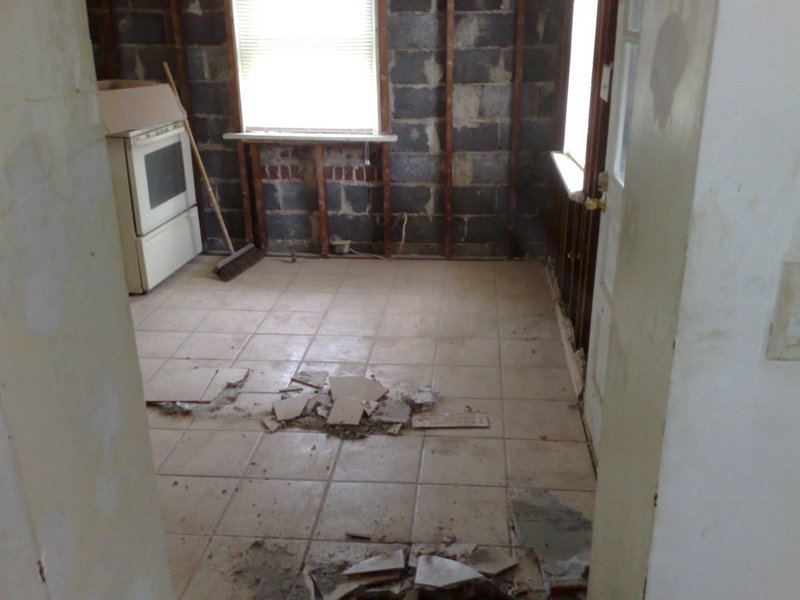
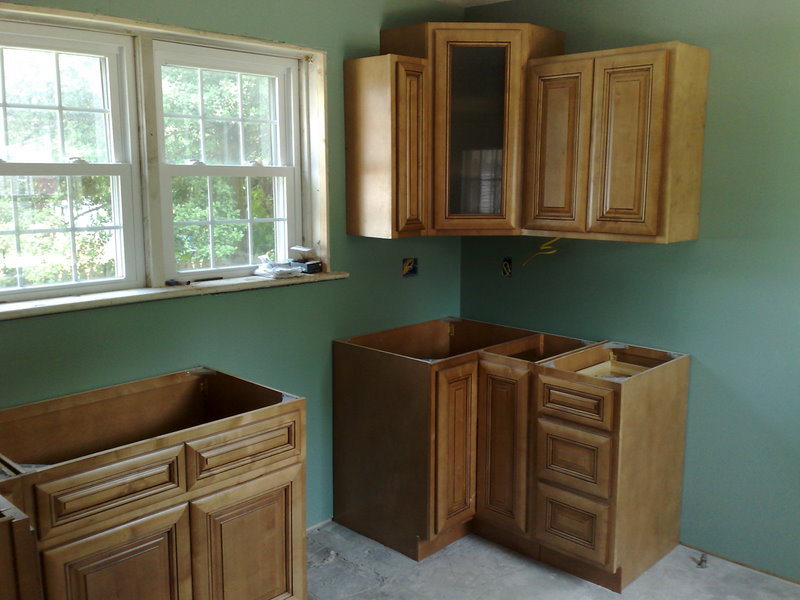
The window in the above picture will have to go away – there’s no place for the refrigerator.

Leave a Reply